How to make stock

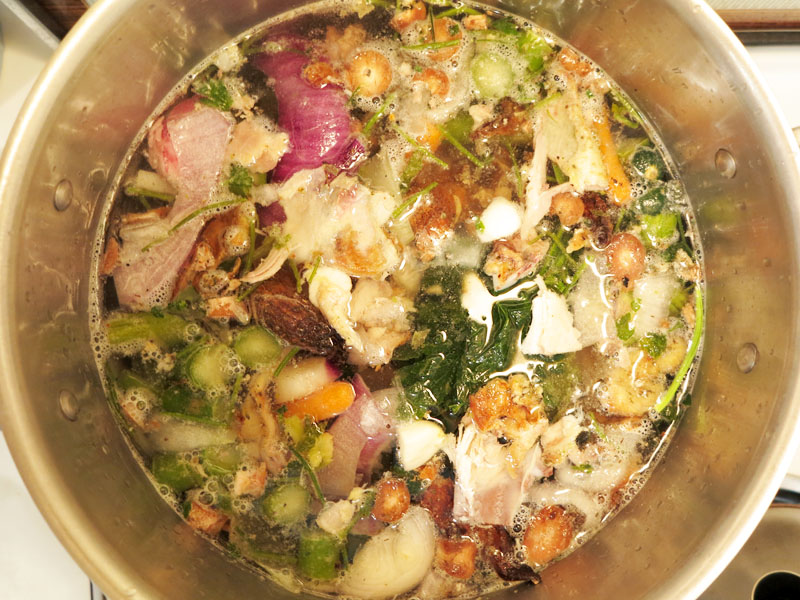
I make a simple stock that is a combination of chicken and veggies. You can make yours all vegetarians very easily. I don’t go out and buy the ingredients for my stock. I kind of just, uh, stockpile them. Hee  hee. What I do is whenever I cut the ends off of carrots, or pull the stems off of parsley, I put the trimmings into a ziploc bag in my freezer. Bones from chicken, woody asparagus ends, whatever I’m cooking with goes in the bag.

When the gallon-sized bag is full, I put everything in a stock pot and cover with a couple of inches of water. I simmer for about an hour, or until the aroma makes my feet lift off the floor and I float towards the kitchen.

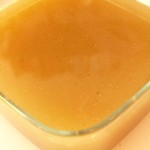
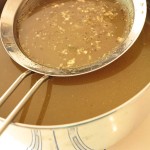
I scoop the big pieces out and then pour the stock through a mesh strainer. Voila! It’s much better than those cartons of chicken stock. And it’s already made with everything I like to eat.

How to Make Sauerkraut

I learned how to make sauerkraut in a workshop given by Sandor Katz. You can see his book Wild Fermentation in my booklist on the right. What I learned is that it is probably one of the easiest things you could make. So go ahead and impress all of your friends by making some.

What you need:

A variety of vegetables – You can go with just cabbage, but in the workshop Sandor used all kinds of fall veggies. I made a batch like that before and it came out delicious. In this batch I used a head of cabbage, a few giant carrots, a few radishes (the gorgeous finger-like ones above) a couple of turnips, an onion and  some bok choy. It’s a great way to use up fall veggies from the farmer’s market or your CSA.

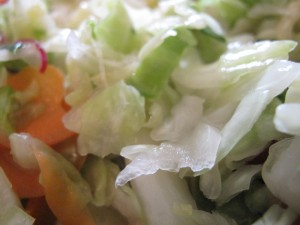
Slice and chop up your veggies. I shred the cabbage and bok choy and cut everything else about 1/8″ thick. Place them in a large, non-reactive bowl and add a lot of salt. For this amount of veggies, I added 3T of salt. Then you knead the salt into the veggies to break down the cell walls and start drawing out the moisture. I’m not sure if you can tell from the photos, but the veggies are starting to get wetter as I go.

Once you have a fair amount of water, you want to put everything into a jar or crock to ferment. I use a big Ball jar. You have to really smush the veggies into the jar and press down on them very firmly. Add all of the liquid as well. I got a huge bowl of veggies to take up about 6 cups of space in this jar. As you push, the liquid rises above the level of the veggies. You want this to happen. Keep the veggies pushed down under the surface of the water. I don’t have a fancy sauerkraut pot (yet), so I put a glass on the top, which weighs the veggies down.

You don’t want to seal the jar, but you do want it covered. Wrap a cloth or paper towel around the top and secure with a rubber band. And then you let it sit for a week or so. Now you have to de-program your brain and let this sit out unrefrigerated. It will even emit bubbles, which made me surprisingly squeamish the first time I did this. The length of time it takes to ferment depends on how warm it is and also how strong you like your sauerkraut.  My batch is ready to bring up to my in-laws for the Thanksgiving weekend.


Elderberry Syrup

Elderflower syrup is one of those magical liquids that is a perfect mix of sweet and floral. It is the G-rated version of St. Germain. You mix a tablespoon or two with seltzer and you have a refreshing summer drink. Syrups aren’t as common here as they are in Europe, and therefore are generally pretty expensive. The one I have was brought to me by friends visiting from Austria.

With all the beautiful, creamy white blossoms popping last weekend, I decided to try making my own syrup. I did a quick search and found this recipe. It calls for citric acid, which I didn’t have on hand. I substituted a packet of EmergenC and hoped that it wouldn’t give it a strange flavor (which it didn’t).

You have to brace yourself for the insane amount of sugar used in the recipe. Also, I suggest having everything on hand, because elderflower blossoms are very delicate and start to wilt very quickly.

Recipe adapted from Hunter Angler Gardner Cook:

3 quarts water
entire bag of sugar
juice of 6 lemons
zest of 6 lemons
2 packets of EmergenC or 6 T citric acid (to prevent spoilage)
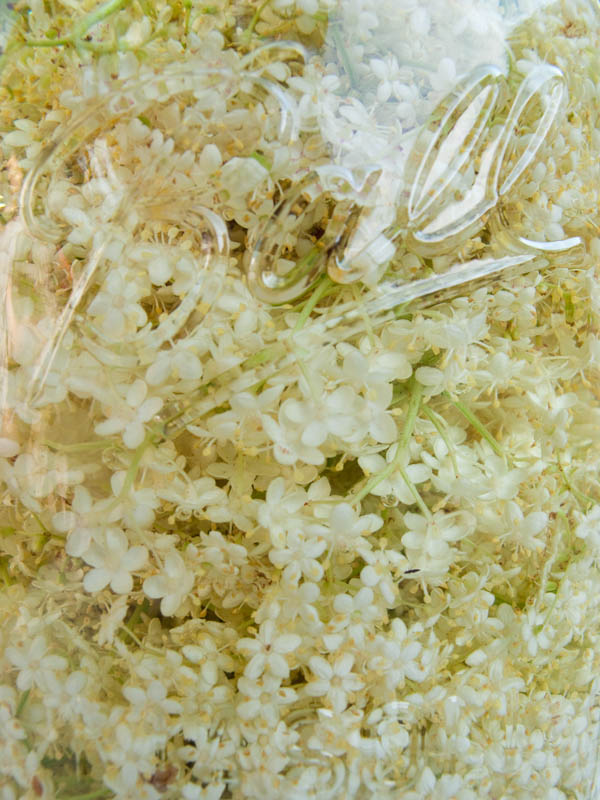
75-100 elderflower flower heads (I just filled the jars to the top) with the stems trimmed

Fill a bowl with the flowers, lemon juice and lemon zest. Heat the water and sugar on the stove until the sugar dissolves. Add the citric acid. Pour liquid into the bowl and stir.

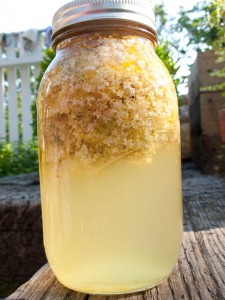
Cover the bowl with a cloth and let sit for a few days. Strain the liquid through cheesecloth into clean jars.

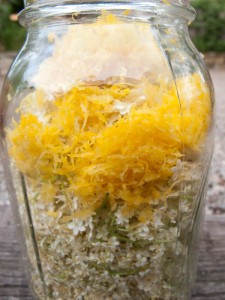
Since our trip was ending, I didn’t have the time to let everything sit in a bowl. I put the flowers and lemon juice and zest into jars and poured the sugar syrup into them. I saved some extra syrup, which I used to top off the jars once I strained out the flower heads.

The flavor is nice and lemony, but I still prefer my expensive Austrian syrup. I have to figure out how to get more of the floral perfume to infuse into the syrup. I’m not too disappointed because I know that we will happily use up our homemade elderflower syrup.

Elderflower Liqueur


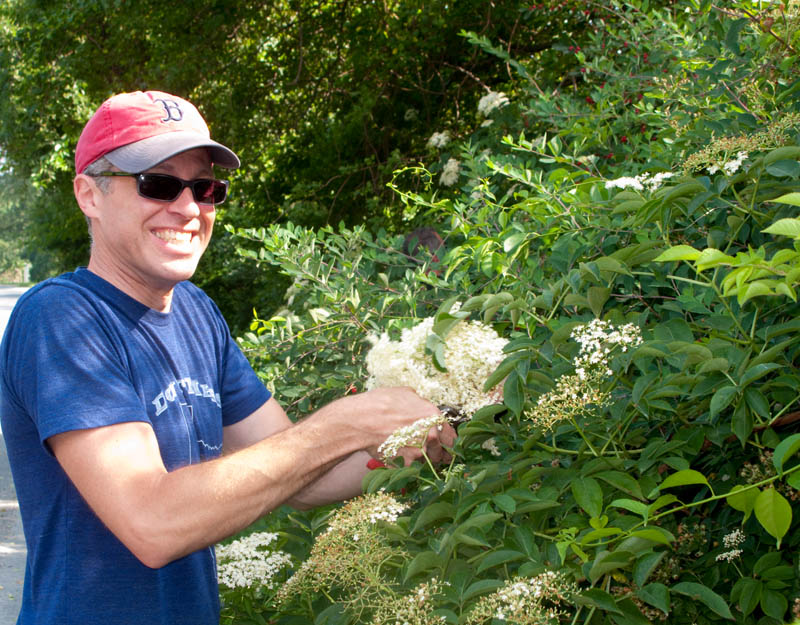
We just came back from our annual July 4th visit with friends up in Rhode Island. Every year at this time their elderflowers are blooming all along the roadsides. A couple of years ago I made french toast, where I dredged the batter-soaked bread in the blossoms. That was really good. This year we made various items including fritters, liqueur and syrup. I’ll post about each until you won’t want to see another elderflower!

Okay, so for the liqueur, it is ridiculously simple. All you need is about 20 flower heads, a quart jar and a bottle of vodka to begin.

• Carefully inspect the flowers for critters. My daughter was particularly good at spotting tiny inchworms and ants.
• Trim the extra stem off of the flower heads and drop the blossoms into the clean jar.
•Fill with vodka and store in a dark place for 1 month.
•After a month, strain out the flowers and mix in about 1/3 cup of sugar until dissolved.

My batch has only sat for 4-5 days, so while I wait, I’ll have to satisfy myself with St. Germain. Neil makes a great version of a cosmo using St. Germain instead of Triple Sec.
Another refreshing summer drink is 2 parts sparkling wine (proseco, champagne, cava, whatever) mixed with 2 parts seltzer and 1 1/2 parts elderflower liqueur.

How to Dry Morels


If you are lucky enough to have more morels than you want to eat at one time, drying them is the perfect solution. Even though my measly 2 morels weren’t an overabundance, I decided I wanted to try to dry mine. I think the flavor is more intense when they are dried.

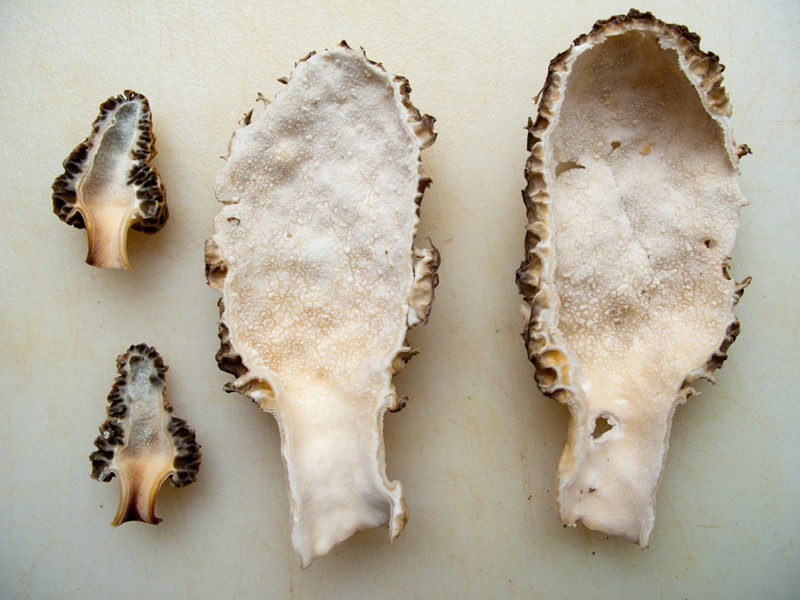
Drying morels is a very simple process. First you cut the morels in half lengthwise. Put them into cold water to rinse out any dirt, grit or critters. Then you can do one of several different things to dry them. You can hang them in a place that gets good air circulation, but no direct sunlight. You can put them in a dehydrator set to 110, or you can put them into an oven set to about 110F. You don’t want to go with a higher temperature, because that will cook them and ruin the flavor. You will need to run the dehydrator or oven for about 10 hours to remove all the moisture.

I decided to string mine on thread and hang them in my kitchen. After one day, they were noticeably smaller and already getting brittle. Once you have all the moisture out of them, you can store them in an airtight container for 6 months, or freeze them for up to a year. Keep them out of sunlight if you aren’t freezing them.

How to plant a dwarf apple tree

As you may have read from a previous post, I ordered a second apple tree to serve as pollinator to my current tree. My first tree is a Sundance apple. The new tree is a Pixie Crunch.

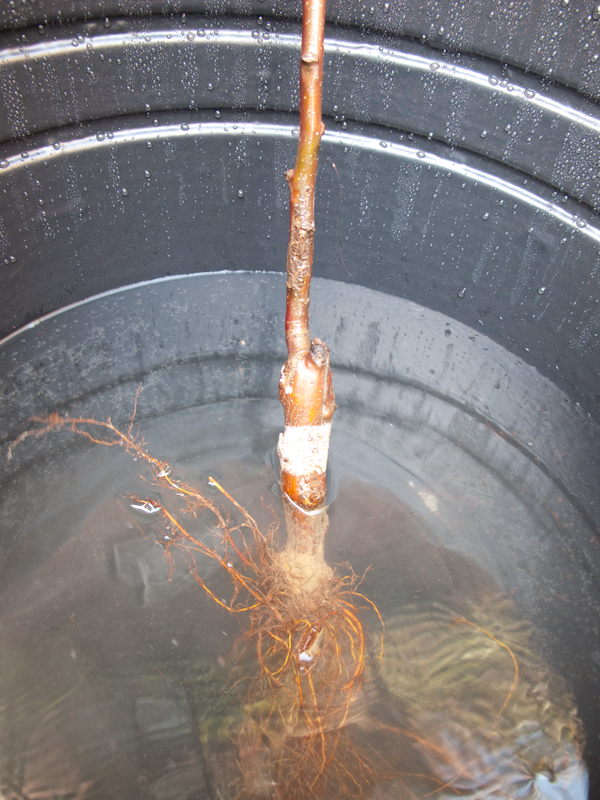
If you get a bare-root tree, as I did, you will need to immediately soak the roots in water (in the shade) for a couple of hours.

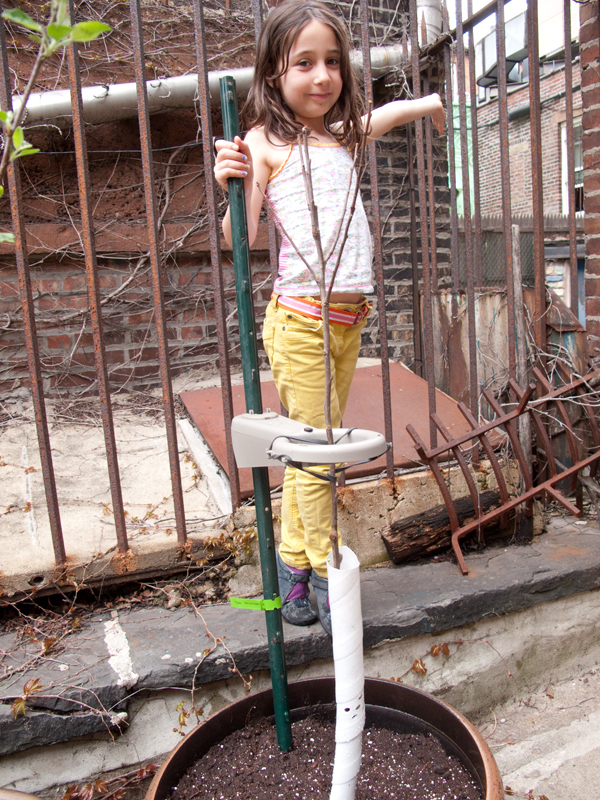
Then fill your container with good soil. I added compost from my garden, which is rich in nitrogen from my chicken’s manure. Make sure to keep the graft (the bumpy join in the trunk) a couple of inches above the level of the soil. My tree has a white line painted on to show the join.

I put a support post in as well and added a protective guard for the trunk. Hungry squirrels will chew on the bark of a young tree. I had this happen to my first apple tree. Fortunately it didn’t harm the tree. I added a guard around that tree as well. This set-up looks like overkill, but the tree will quickly grow into it.

When you have your tree in place, pat the soil down and water it well. Keep watering the newly planted tree if you have less than an inch of rainfall per week.

How to make kombucha

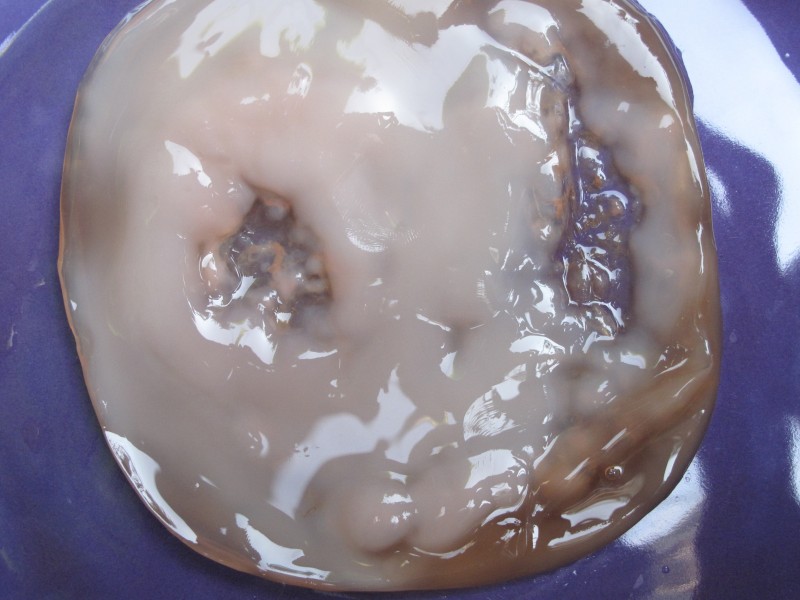
Kombucha scoby

A few weeks back I took a fermentation workshop with Sandor Katz. One of the many foods and beverages he covers in his book Wild Fermentation is kombucha. Kombucha is a fermented beverage made from sweetened tea. What gets the fermentation action going is a gelatinous clump of bacteria and yeast called the scoby, the mother, or the tea beast (love that one!) It’s a rubbery disk that is pretty unappetizing looking.

I was lucky enough to get a scoby from a generous person at the workshop, who brought extras. You see, when you make kombucha, you use a starter scoby, but then a new one forms. So then you have two, so you can then get two jars of kombucha brewing. But then you have 4 scobies. You can see how this can get out of hand quickly. In fact, if anyone lives near downtown Brooklyn and wants to try their hand at making kombucha, I can pass along a scoby to get them started. Just email me!
Fabric lid

Kombucha Recipe adapted from Wild Fermentation. To make 2 quarts.

Ingredients:

2 quarts of water

1/4 c. sugar

4 teabags of black tea

1 c. mature kombucha (you can buy it at most health food stores) This is like sourdough starter for kombucha.

kombucha scoby

Add sugar to the jar and boil water. When water has reached a boil, pour it into the jar (in this case a 2-quart jar) just to the point of where it starts to taper in. Stir to dissolve the sugar.

Add the teabags and let steep at least 15 minutes. Allow the liquid to cool to body/room temperature.

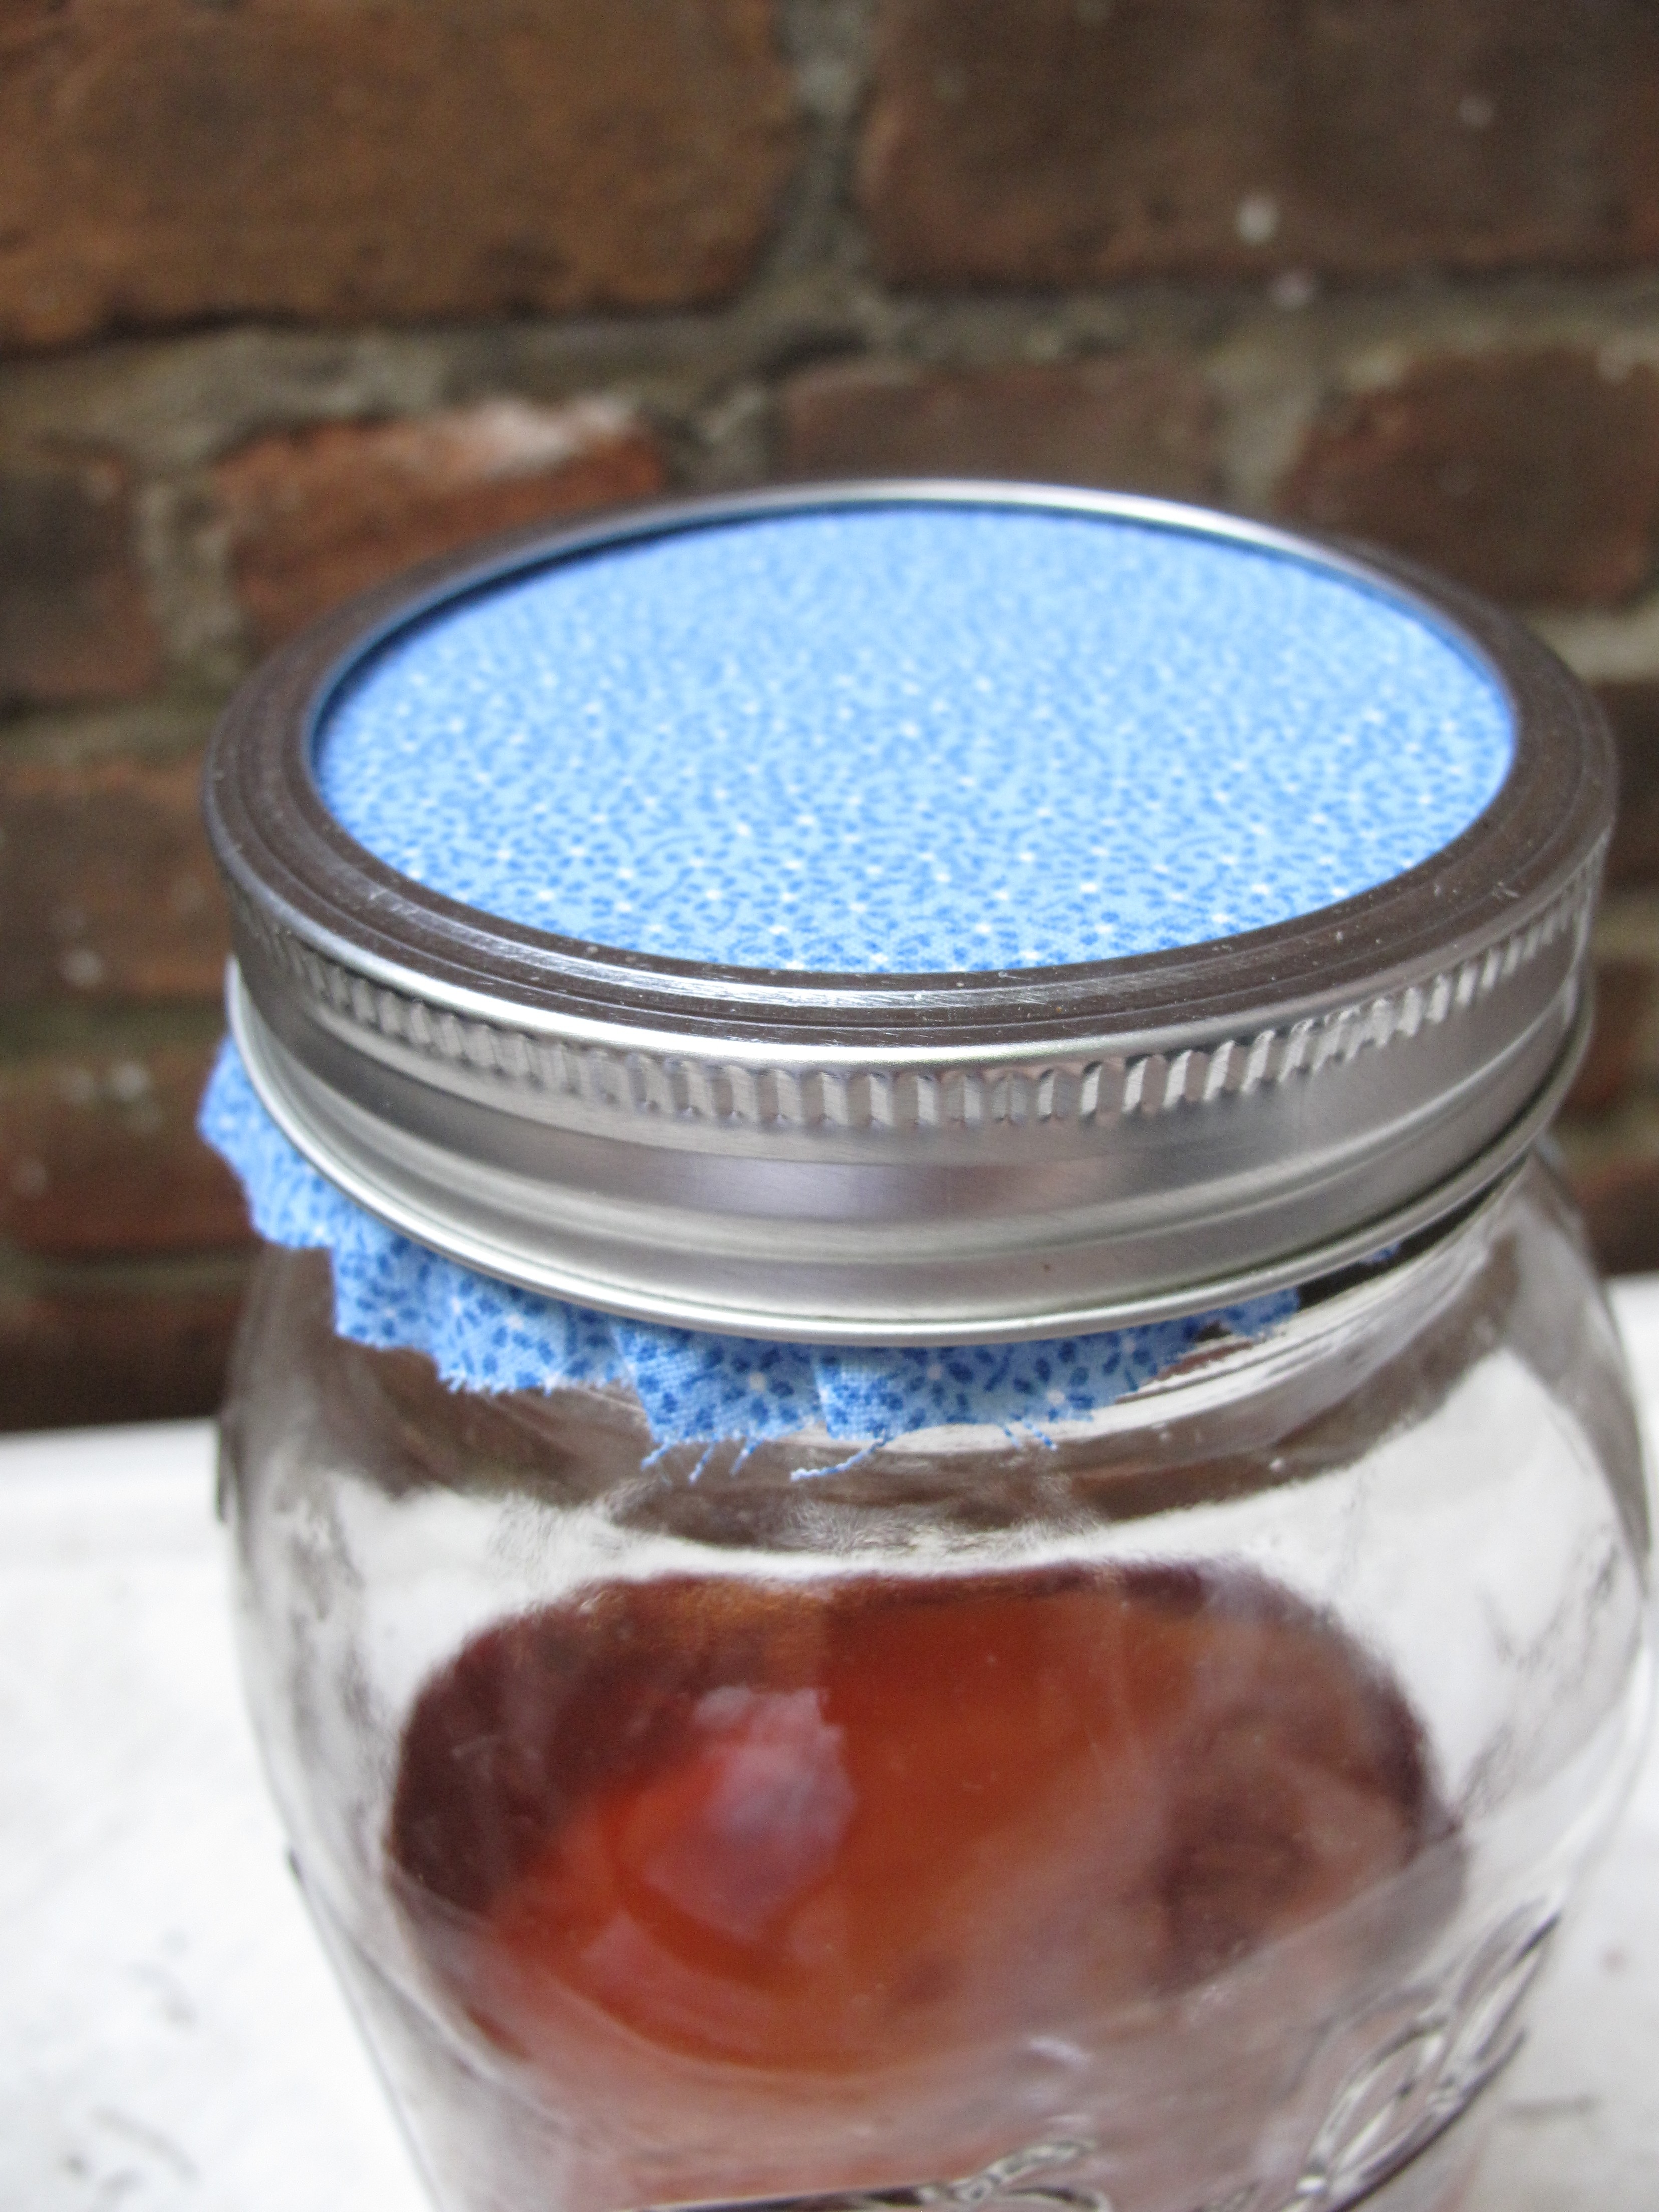
Add the mature kombucha and then the scoby. Put the scoby in opaque side up. Cover with a cloth which allows air circulation but keeps flies out. I take the metal disk out of the 2-part mason jar lid and put the screw ring on over a piece of fabric.

After a few days, taste the liquid (I pull some out with a straw. You know the trick where you dip the straw in and then put your finger on the end and pull up the liquid in the straw…). This part is really subjective. Kombucha ferments faster in warm weather, so keep that in mind. It’s been crazy hot here and I’ve still let my kombucha ferment on the counter for a couple of weeks. The longer it ferments, the more of a tangy, sour flavor it will have. If you let it go too far it will turn into vinegar. When it is to your liking, remove the scoby and store the kombucha in the fridge. If you like to flavor your kombucha, this is the time. I added lemon juice, some chopped ginger and some raspberry purée I happened to have on hand. I was emulating the trilogy mix by Synergy. I fill Synergy bottles, which are 16oz with my finished brew. To this I added juice from 1/4 lemon, a few slices or chunks of peeled ginger and about 1 t. raspberry puree. I have some in the fridge now with a few blueberries floating in the bottles.

When I pour the kombucha into my drinking glass, I always strain it to remove the ginger and any slimy bits (I know. Real appetizing. Makes you really want to run out and make some when I mention slimy bits) . It’s a little effervescent and very refreshing. And much to my dismay, kombucha is very trendy right now.

And if you don’t have any takers for the scoby, you can compost it, bury it with fruit trees or give it to your chickens. Mine wolfed it right down.

UPDATE: After several months of brewing kombucha, I’ve decided to take a break. I don’t have any more scobys to pass along. There are sites that explain how to grow a scoby from commercial kombucha. Here’s one.
How to re-upholster a chair

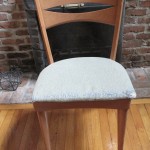
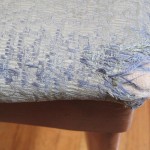
For several months we have been living with chairs that looked pretty shabby. The fabric covering started to tear on several of them. This weekend we finished re-covering them, which was a simple process.

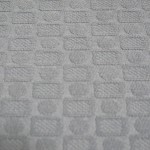
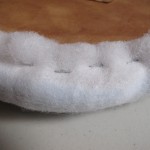
One of the enormous benefits of living in New York City is the ability to find almost anything. I needed upholstery fabric, foam and dacron. I got the fabric at Mood fabrics (famous for supplying the show Project Runway) and I got the foam and dacron at Canal Rubber. Dacron is a stretchy, web-like material that covers over the foam. If you are at all like me and are not on top of *everything*, you might have chairs that go neglected. What happens under the fabric is that the foam turns a gross shade of orange and becomes brittle and powdery. The dacron stretches over the foam and keeps this powder from dusting the floor under the chair. Have I shared too much??
Anyhow, the internet is rich with videos on how to re-upholster a chair. Each version is slightly different. Glueing the foam to the seat didn’t seem right to us, so we stretched the dacron over it and stapled it down. It’s mostly just common sense.

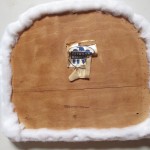
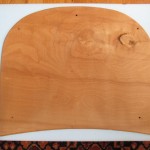
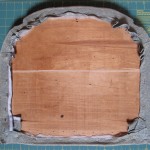
Neil unscrewed the seat of the chair from the wooden frame. There were 4 screws on the bottom of the seat. He then took a flat head screwdriver and removed all of the staples holding the fabric and foam onto the seat. The seat is just a sheet of plywood.

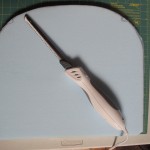
I traced the plywood shape onto the foam, giving an extra 1/2″ of space all around. I cut the foam with an electric turkey carver. Now I feel I have to explain something…we don’t use this carver to cut turkey. We bought it when we made a foam turtle shell for our daughter’s Halloween costume years ago. The man at Canal Rubber suggested using a box cutter to cut the foam, but if you can get your hands on one of these electric carvers, your life will be much easier.

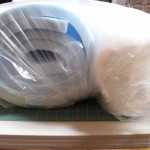
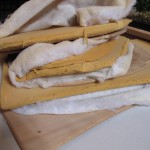
I cut the dacron with a pair of sharp scissors to a size about an inch or 2 larger than the foam. We placed the foam on the plywood base and stretched the dacron over it. Then we used short staples and a staple gun to attach it to the wood.

I traced the shape of the old fabric onto the new fabric. The foam we used was slightly puffier than the old foam, so I needed to add about an inch and a half all around. You can use scissors. I used a rotary cutter. Then you stretch the fabric over the dacron and staple it down. I found this much easier with two people, but you could do it solo. We also did the canvas stretching technique, which is when you start stapling the fabric in the middle of one side, then flip it around and staple the middle of the opposite side. You do this on all sides and work your way to the corners.

I should have taken more photos, but I think it is really common sense. When you get to the corners, fiddle with how you fold the fabric so it looks nice.

How to Make Hungarian Crackers (Pogacsa)

goodpuff1

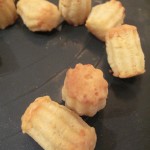
This is a recipe that my father used to make for cocktail parties and was usually one of the first things to disappear. My sister and I seem to often be on the same wavelength and just as I was deciding on making these for Neil’s birthday party, she emailed me to ask for the recipe. She confirmed that hers disappeared immediately, so I thought I would post the recipe with directions on how to make them.

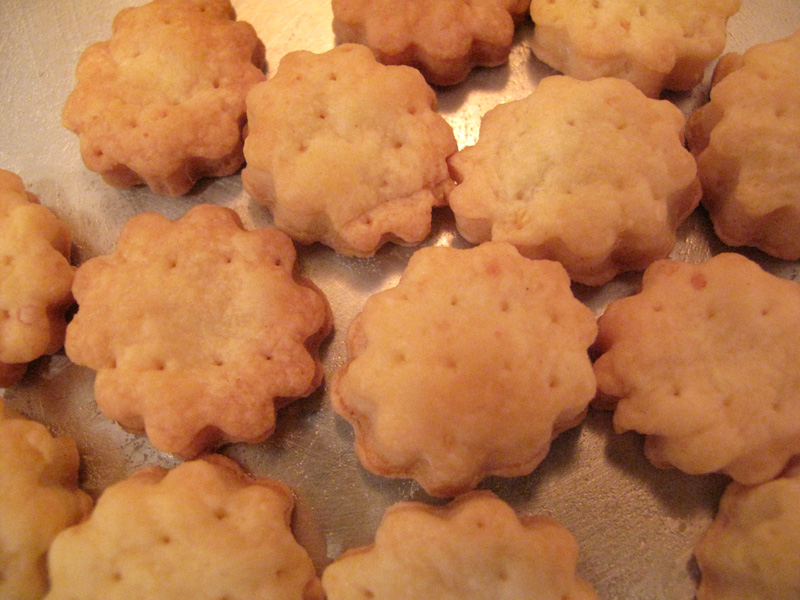
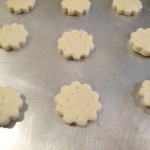
The first batch I rolled out to about 1/4″ thickness, which was *way* too thick. You can see from the photos below that they kind of shrink up sideways and puff upwards. The first batch were freakishly high, so I rolled the subsequent batches thinner (and poked them with fork tines).

Pogacsa (sometimes seen as Pogatcha)

Equal weights of:

flour

butter

cream cheese or feta cheese. I used feta cheese for these. I used 8oz (1/2 lb) measures of each and got a nice sized basket of crackers. Several dozen.

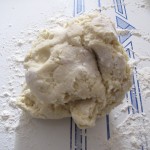
I love Hungarian recipes! They are usually quite simple. Okay, so I mixed the butter and cheese together until it was well-blended. Then I added the flour and mixed it with the dough-hook on my stand mixer. The dough is very thick. You can see the bits of feta in my dough.

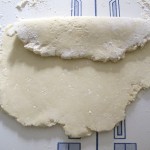
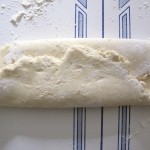
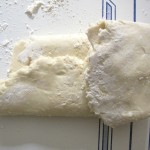
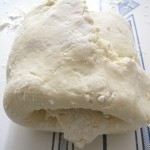
Generously flour a surface and roll the dough out as seen below. You will fold each edge to the center until you have 4 flaps folded in. Repeat this several times and keep it well-floured. The rolling part is very important, otherwise the crackers won’t puff.

Wrap in plastic and let rest in the fridge for about 1/2 hour.

Roll out thinner than 1/4″ (I have photos of the overly puffy crackers. Don’t let this happen to you!) and cut with a small drinking glass or other cutter. I used a canapé cutter, which I think was too small. So about 1 1/2-2″ across. I also suggest poking them with the tines of a fork to keep the puff factor down.

Bake at 350 degrees F for 15-20 minutes until they are golden brown. You can put them directly on the cookie sheet. There’s enough butter in these that they won’t stick to anything!

They are best warm, but are still delicious room temp. If you have any left over you can always warm them up and have with lunch. I only had extras because I had an insane amount of food at the party where I served them.

Turn Down the Heat


A few weeks ago we went to Ikea and bought down comforters. We pay for our heat, which is somewhat unusual here in New York City. We like to keep our house cool, especially at night when we can hunker down under the covers. Our down comforter finally exploded a year ago, so we’ve been on the look out for an inexpensive replacement. At Ikea they rate their comforters on a scale of 6, with 6 being the warmest. Without hesitating, we grabbed a 6 for us and for Lindsay. At $49.99 the price was unbeatable.

I usually go to bed in the winter with ice blocks for feet and warm them up on my poor husband, who we refer to as the polar bear. After the first night of the #6 comforter I was insanely hot and so were Neil and Lindsay. We turned the heat OFF the next night. We were still hot (Lindsay had just gotten nice warm pjs for the holidays) so we went to bed in t-shirts and undies. It made trips to the bathroom in the middle of the night interesting in our no-heat house! I was still too hot. I was downright sweltering if Neil came anywhere near me. For the sake of marital harmony, we decided to get a #4 comforter and try to sell our #6s to friends with cabins or who wanted to hike the Andes. A queen size was $39.99, which was amazing! So far so good. We turn off our heat and we can still snuggle without overheating.

I was thinking about how much this little addition to our family has helped us save energy. I mean, who actually turns their heat off when it’s 20 degrees outside?

Looking around the internet I found some interesting facts that might help encourage you to turn down the heat. A warm comforter is a good first step!!

  • The rule of thumb is that you can save about 3% on your heating bill for every degree that you set back your thermostat” full time, says Bill Prindle, deputy director for the nonprofit American Council for an Energy-Efficient Economy.
  • Try turning down the thermostat 5 to 10 degrees at night, and then turn it up again in the morning when the coffee is brewing. If you can get used to that, you’ll save 5 to 10 percent of your heating bill.
  • It does NOT take more energy to re-heat your house after the heat has been turned down than to keep it at the same temperature all the time. Nor does turning your thermostat up make the house warm up faster — it simply makes the boiler stay on longer before turning off.

Things you can do

  • Close curtains or blinds at night to keep out the drafts.
  • Turn your thermostat down or off at night. You can get programmable ones that will turn the heat on in the morning, so you aren’t freezing when you wake up. Then turn the heat down when you go off to work.
  • Check the seals on windows. We have a huge window in our apartment that is too high to reach. It is single pane glass and the wood between the panes looks brittle. Neil once put plastic up (don’t ask me how he got up there without killing himself) and sealed it with a sheet of plastic. That lasted several years, but has since come down. We rent, so we are at the mercy of a landlord who isn’t interested in fixing the window. We can see things moving in the draft caused by this window.
  • Wear sweaters around the house instead of turning up the heat. Whenever I complained to my father that I was cold, his reply was always to put on a sweater. Makes sense.
  • Put plastic up over windows that leak. There are lots of different plastic coverings that are made especially for this purpose. You stick them around the window and then heat them up with a hairdryer. This causes the plastic to shrink a bit and pull tight. We do that with the window in our home office and it makes a huge difference.

Let me know your ideas for keeping the heat down.