Chinese Quince

chinese quince-1

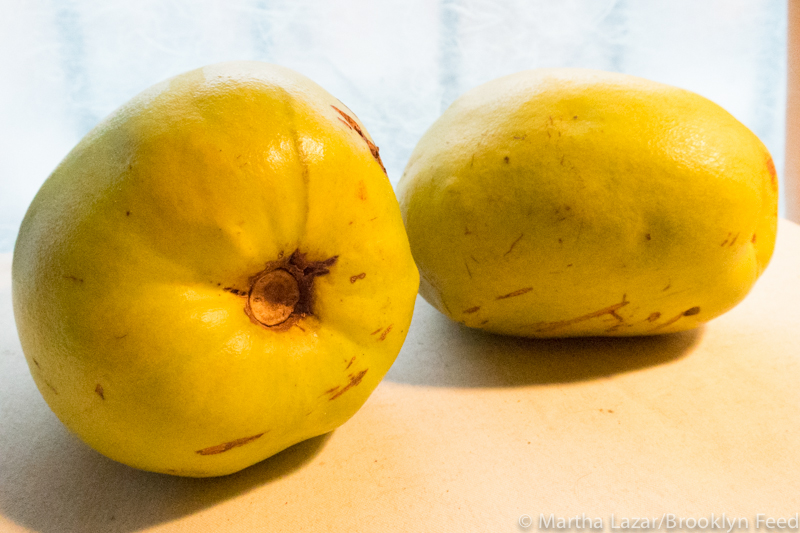
Last week one of the gardeners I work with gave me these two beauties. They are about 6″ long, are a greenish yellow and are heavy for their size. They are also quite hard. I had no idea what they were when he first showed them to me.

Chinese quince, or Pseudocydonia sinensis, is a beautiful smallish tree that has bark which looks a bit like army camouflage. The flowers are a delicate pink and are quite fragrant. The fruit ripens in late fall and also has a lovely scent.

Quince used to be much more common in the US because it’s high amount of pectin made it useful for making jams and preserves. I think the product most people know is quince paste, which is usually sold in fancy cheese stores.

I’ve been trolling the internet to find a good quince jelly recipe. I’ll let you know what I come up with.

Still here

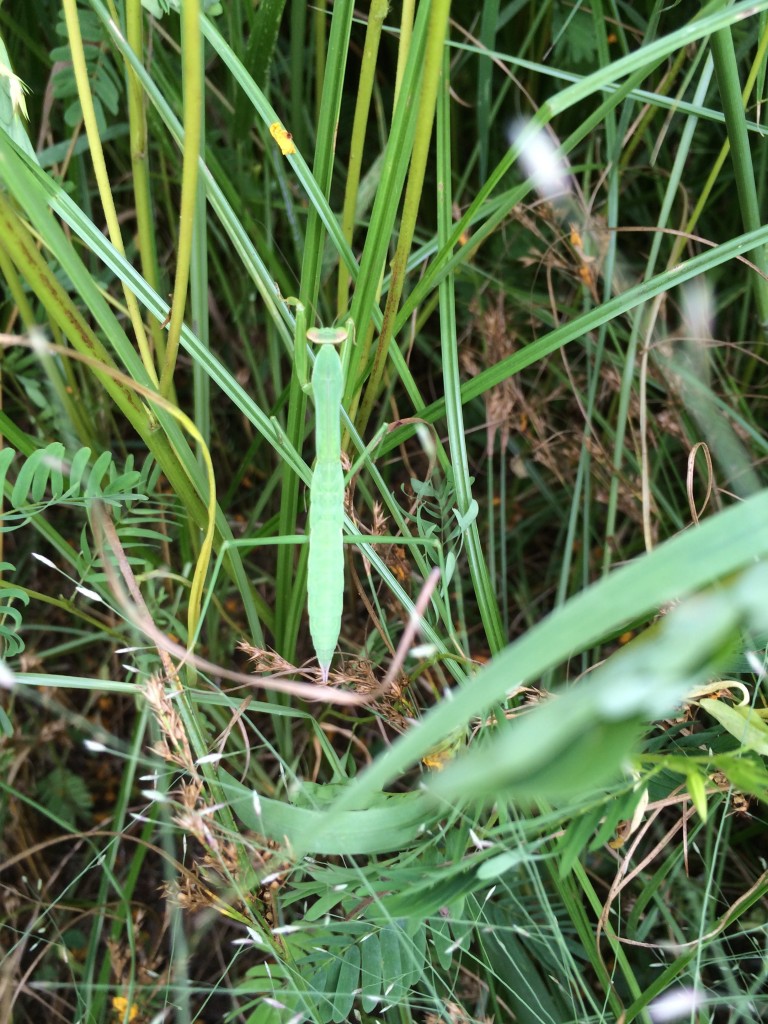
IMG_1854A lot has been going on with my volunteer gardening at the Brooklyn Botanic Garden. Besides working one day at the Osborne garden, I am now working one day in the Native Flora garden. It’s a nice mix of formal beds and action-packed nature. The Native Flora garden attracts all kinds of insects, birds and butterflies, that it’s almost as much a study of animals as plants when I’m there. Below is one of the many praying mantis I saw one morning.IMG_1842

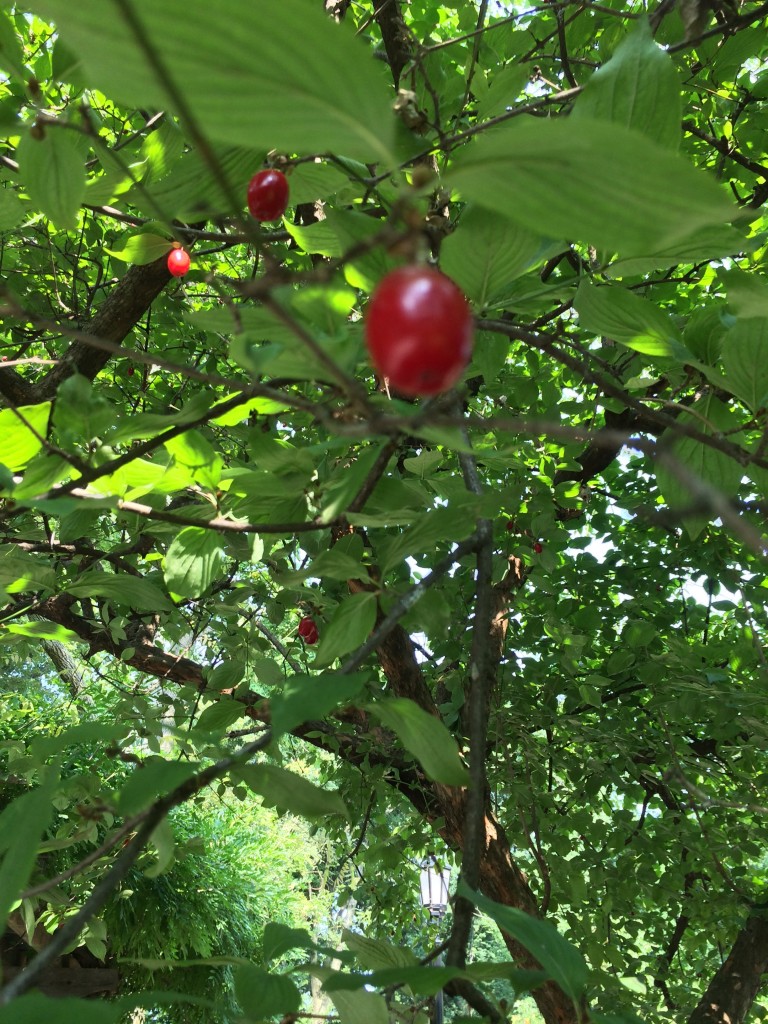
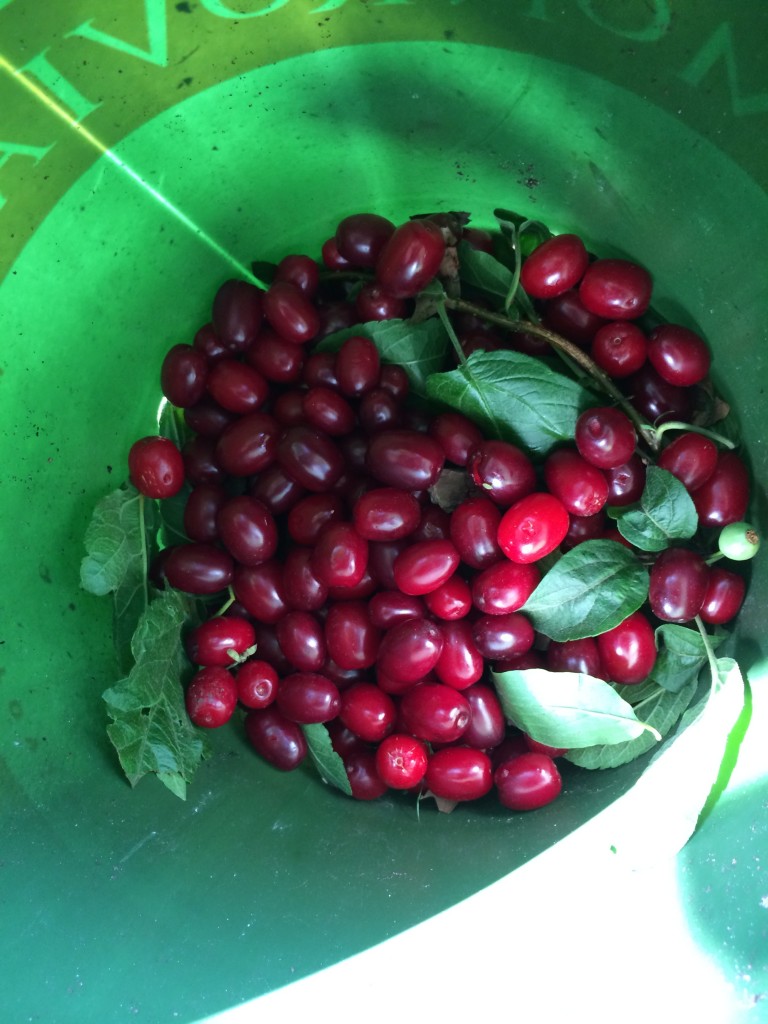
IMG_1838Earlier in the summer, when I was in the Osborne garden, I noticed bright red fruit on one of the trees. The tree was a cornelian cherry (Cornus mas) tree, which is actually related to dogwoods and not cherries. As many of you know by now, my first question was, “Are they edible?” The answer is a hesitant yes, unless you are from Iran, in which case you get a hearty yes. I read that you could make jam with the berries, so I got permission to gather a bunch that had fallen to the ground. The ones on the trees aren’t quite ripe.IMG_1839I followed a recipe I found online for jam, which I can’t say was a complete success. The taste was wonderful. Cooking the fruit took out the mouth-puckering tannin feel that the raw fruit has. The recipe I used called for way too much water. My preference in making jams and preserves is to cook the fruit as little as possible. What I ended up with was a delicious fruit syrup. Perfect for pouring over yogurt or ice cream.

Next year, I will stick with a more traditional jam recipe. If you run across one of these trees, do give the fruit a try.

Dehydrated apples

20131220-123818.jpg

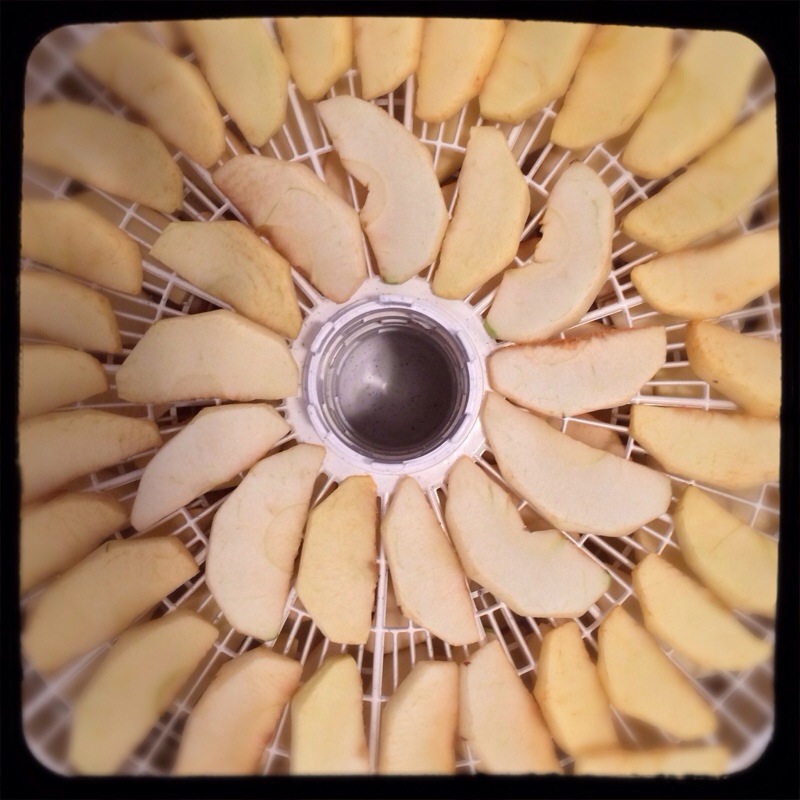
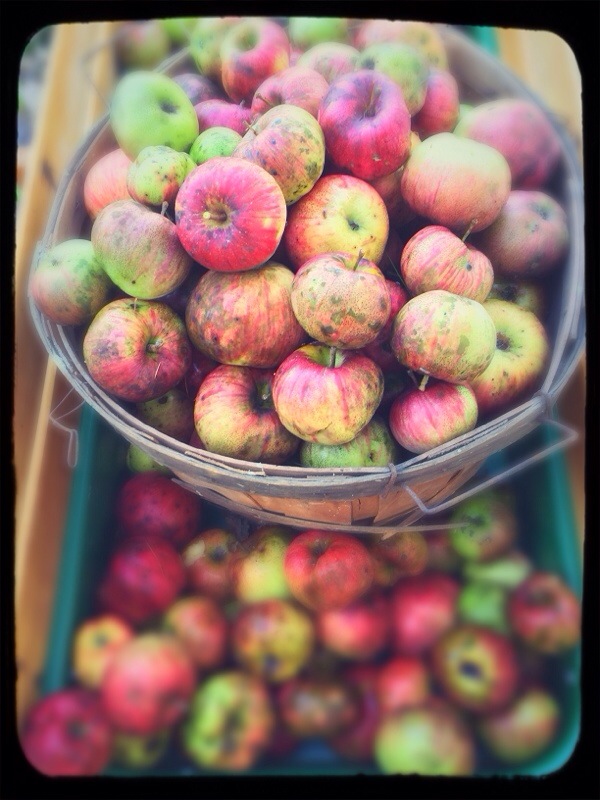
Our cup seems to be running over with apples thanks to our wonderful CSA. They’ve been getting overlooked with the abundance of holiday sweets, so I decided to dehydrate them. This is a very simple process, especially if you have a dehydrator.

I just peeled them, used a coring/wedge slicing tool and then dunked them in acidulated water. 2T of lemon juice to 6 cups of water. They are drying for several hours at
135 degrees F.

The house is filling up with a nice aroma that has nothing to do with sugar and butter for a change.

Making apple cider

20131012-124131.jpg
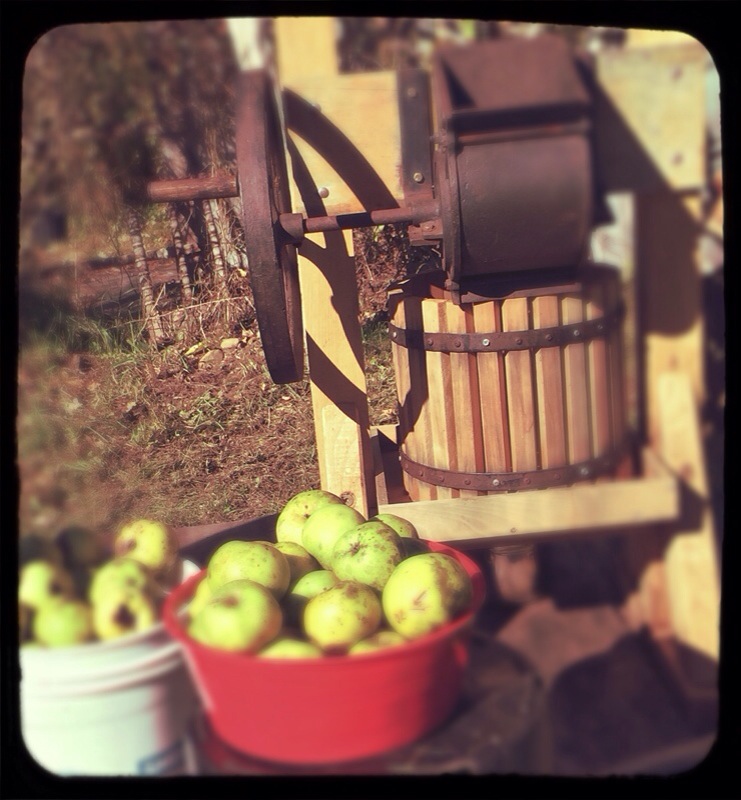
We’re up in the Berkshires this weekend enjoying beautiful fall weather. The family next door, who are big homesteaders, invited us to come over and press some apples into apple cider.

20131012-124542.jpg
We gathered about two bushels in a wagon. In the end we pressed about six gallons worth to keep. Some will be drunk fresh, some will be made into hard cider, and some will be made into apple jack.

20131012-124715.jpg

Making Sauerkraut

In this post, I showed how to make sauerkraut. I used a plain old ball jar to let the veggies ferment. I found this technique to be problematic, because it was difficult to weigh down the veggies.

When fermenting veggies, you really need to keep them below the surface of the brine. If they aren’t below, mold grows on them. Now, this isn’t uncommon, and many people routinely scoop the “scum” off the top. That just made me squeamish. It’s really funny, because if you ask most of my friends, I have a very high “skeeve” threshold.
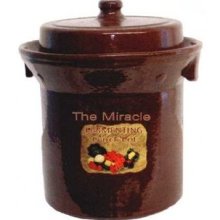
I wanted to get a crock that was made specifically for fermenting and pickling. In comes the Harsch Crock. This guy is expensive, but it’s the kind of thing you buy once. It comes with weights that sit on top of the veggies to keep them submerged in the brine. It also has a channel in the lid that you fill with water, which allows gases to escape the crock, but doesn’t allow air or debris in.

I looked online at all the tiny photos like this one and ordered one. I was very surprised with how huge the crock was when it arrived. Does anyone else have this problem? Tiny photos, nothing next to it to show scale…? Okay, I know it said 5 liter capacity…

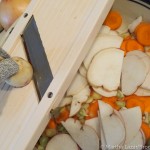
So, it’s been sitting around waiting for me to want to make an enormous batch of sauerkraut or pickles. I also got a mandoline to help with slicing all the cabbage.

My Very Loose Recipe for a 5 liter crock (you can also use just cabbage, or add other veggies like radishes, garlic, bok choy):

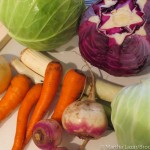
  • 3 heads of cabbage. I show a head of red cabbage below, but decided to stick with just green cabbage. You can certainly use red, but your sauerkraut will turn out pink.
  • 4-5 large carrots
  • 4-5 turnips
  • 1 large onion
  • 2 leeks (white part)
  • appx. 9 T salt

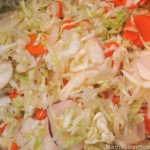
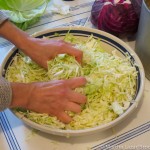
After slicing all the veggies, you need to add salt and knead until the vegetables release the water from their cell walls. I add about 3 T of salt per large pasta bowl. I filled this bowl three times.

After you have done this, you should take handfuls of the veggies and press them firmly into the crock. I use my fist to tamp them down. Add all the water released and press the veggies under the water level. If you don’t have enough liquid, you can add 2 cups of water with 1 t. of salt dissolved in it. I save a few whole leaves of cabbage to place on top of all the chopped ones. This helps hold the loose pieces down.

Then put a plate, rock, ziploc filled with salt water, or the weight from the crock on top of the cabbage leaves to keep everything submerged. You let this sit out for a few weeks to ferment. Taste it periodically to test how fermented you like it. Too fermented gets mushy.

I made this batch about a week ago and the crock is sitting in a corner of my kitchen. I kept hearing little blerps and couldn’t figure out what the source of the noise was. It turns out it was bubbles emitting from the sauerkraut crock. Euw. As I mentioned in my previous sauerkraut post, you have to get over the fact that the food is basically rotting away. That is part of the process and it produces a delicious food that is extremely healthy.

Fall Harvest

I can’t quite put my finger on it, but I have been in a bit of a funk lately. I am distracted and easily overwhelmed, which amounts to my not getting much of anything done. Or done particularly well. But I have been doing some things and then my funk just extends to writing about them.
Here are a few things I’ve been doing in my long absence.

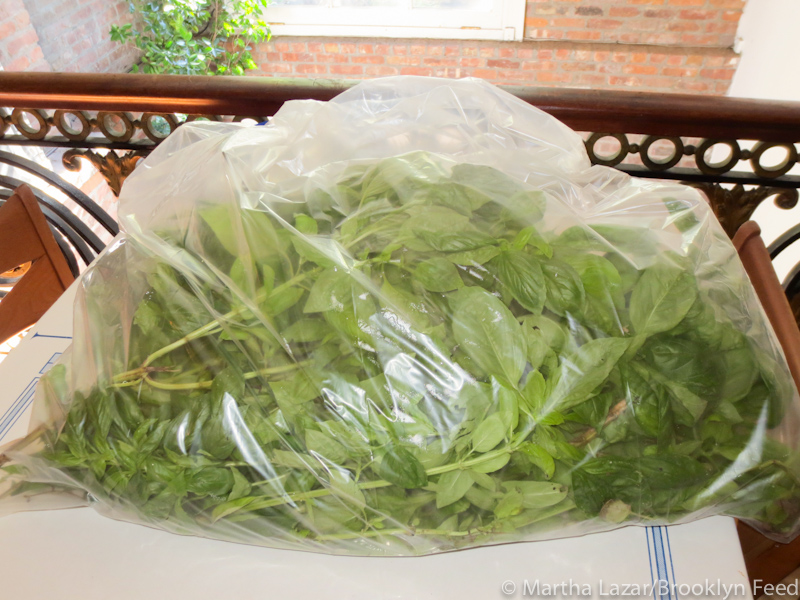
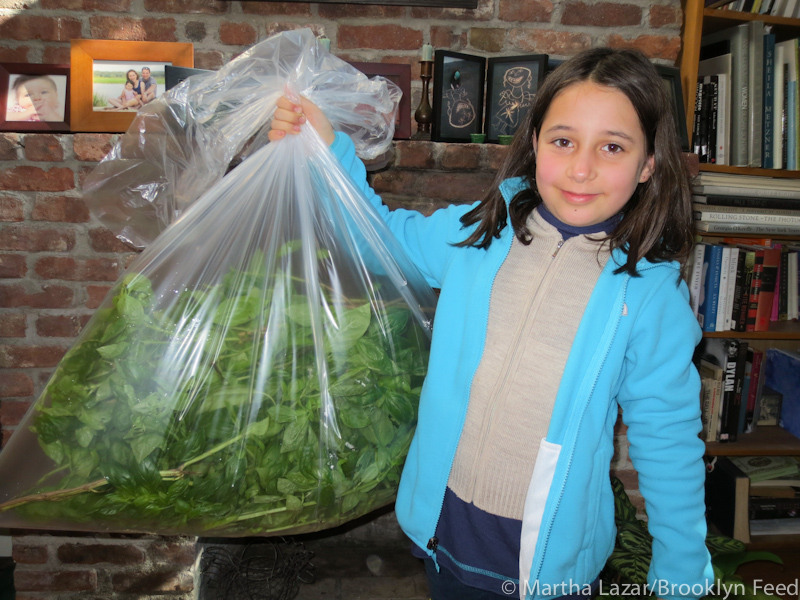
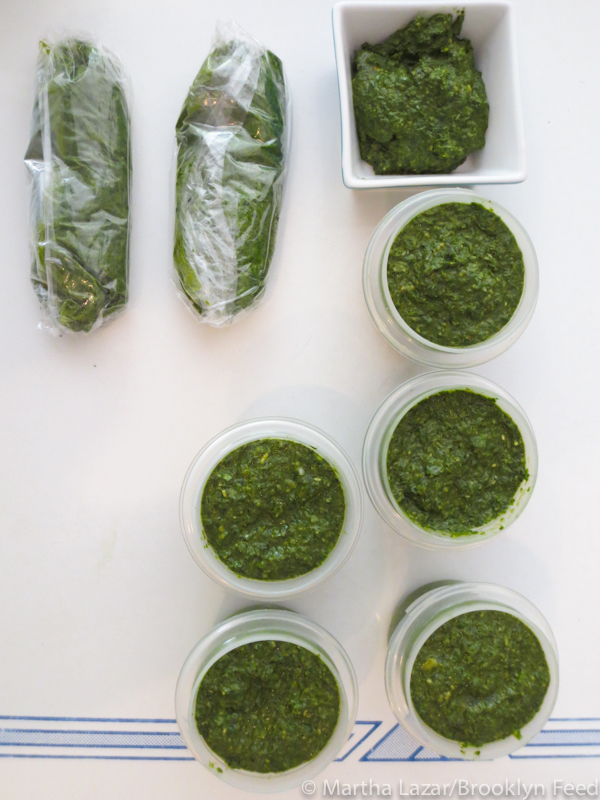
This huge bag is filled with basil. The temperatures were dipping down into the low 50s and 40s were on their way, so we pulled it all out and made lots of pesto. I just blend the basil with some toasted pine nuts, olive oil and garlic. This year I “cooked” the cloves of garlic in the microwave for about 10-15 seconds, which took a bit of the raw bite out of them. I freeze the pesto to use throughout the winter. Once it is thawed, I mix grated parmesan cheese into it.

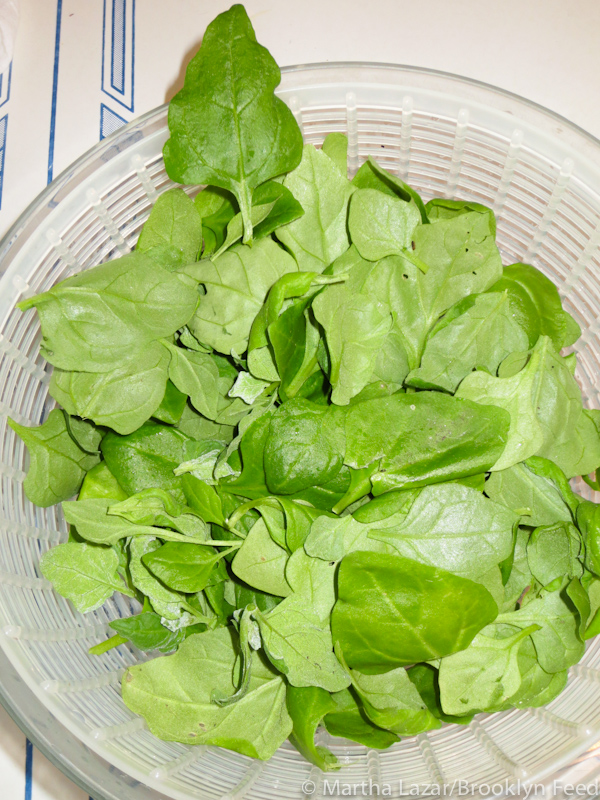
Have you heard of New Zealand Spinach? My grandmother used to grow it in her garden. Her house was the only place I’ve ever eaten it. It is similar to spinach, but has a bit more substance after cooking. I saw it in a seed catalog and decided to grow it for myself. I just sautéed some garlic in olive oil and then added it at the end and cooked it until it was just wilted. As a kid I used to think my grandma’s NZ Spinach made my teeth pucker, but I didn’t have that experience eating this batch.

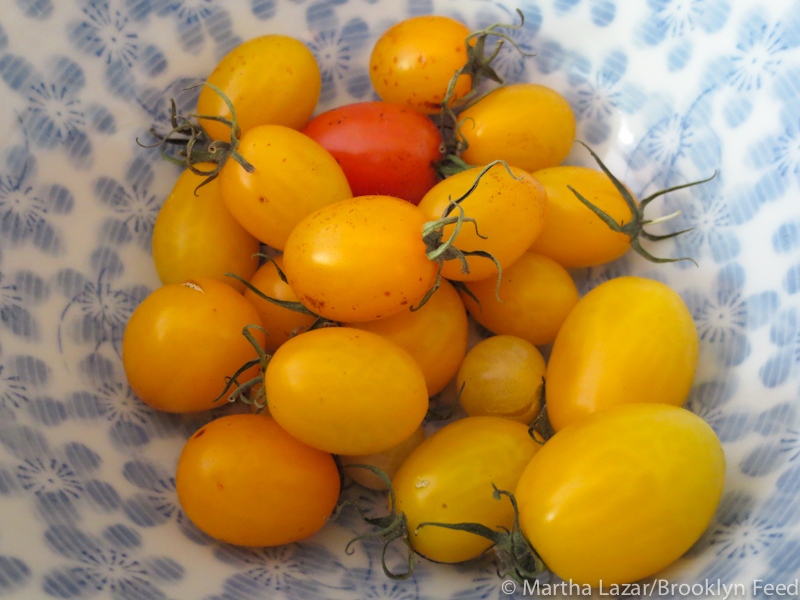
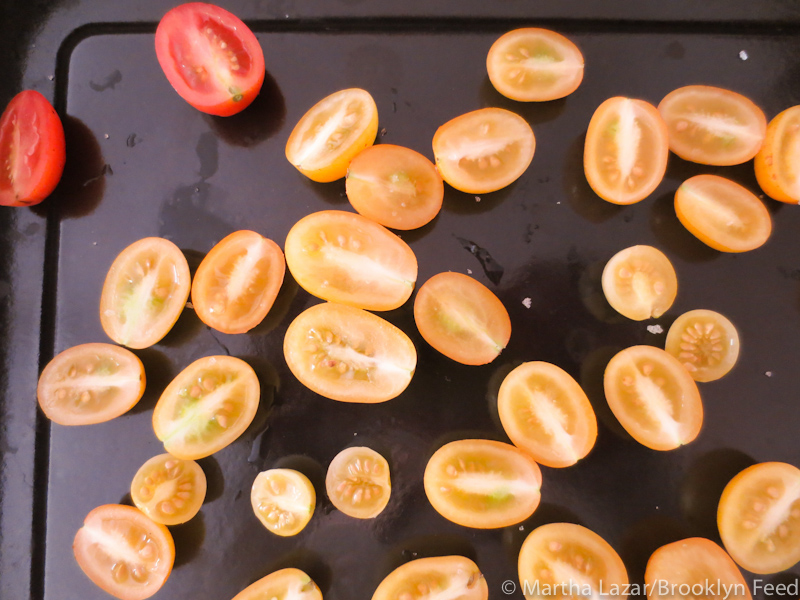
And then there were more volunteer tomatoes. These came from the grape tomatoes that we put in our daughter’s lunches (and sometimes end up in the compost bin). I oven dried them at 220F for about 1 1/2 hours with a bit of sea salt. And I don’t have a photo of the finished product because we snarfed them down too quickly!

How to Make Sauerkraut

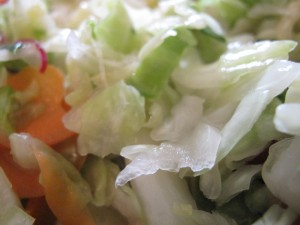
I learned how to make sauerkraut in a workshop given by Sandor Katz. You can see his book Wild Fermentation in my booklist on the right. What I learned is that it is probably one of the easiest things you could make. So go ahead and impress all of your friends by making some.

What you need:

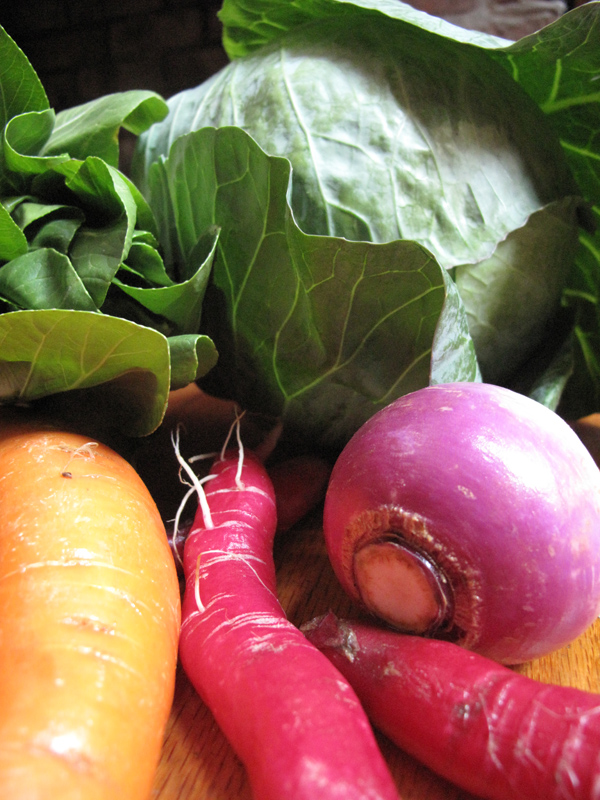
A variety of vegetables – You can go with just cabbage, but in the workshop Sandor used all kinds of fall veggies. I made a batch like that before and it came out delicious. In this batch I used a head of cabbage, a few giant carrots, a few radishes (the gorgeous finger-like ones above) a couple of turnips, an onion and  some bok choy. It’s a great way to use up fall veggies from the farmer’s market or your CSA.

Slice and chop up your veggies. I shred the cabbage and bok choy and cut everything else about 1/8″ thick. Place them in a large, non-reactive bowl and add a lot of salt. For this amount of veggies, I added 3T of salt. Then you knead the salt into the veggies to break down the cell walls and start drawing out the moisture. I’m not sure if you can tell from the photos, but the veggies are starting to get wetter as I go.

Once you have a fair amount of water, you want to put everything into a jar or crock to ferment. I use a big Ball jar. You have to really smush the veggies into the jar and press down on them very firmly. Add all of the liquid as well. I got a huge bowl of veggies to take up about 6 cups of space in this jar. As you push, the liquid rises above the level of the veggies. You want this to happen. Keep the veggies pushed down under the surface of the water. I don’t have a fancy sauerkraut pot (yet), so I put a glass on the top, which weighs the veggies down.

You don’t want to seal the jar, but you do want it covered. Wrap a cloth or paper towel around the top and secure with a rubber band. And then you let it sit for a week or so. Now you have to de-program your brain and let this sit out unrefrigerated. It will even emit bubbles, which made me surprisingly squeamish the first time I did this. The length of time it takes to ferment depends on how warm it is and also how strong you like your sauerkraut.  My batch is ready to bring up to my in-laws for the Thanksgiving weekend.


How to Dry Morels


If you are lucky enough to have more morels than you want to eat at one time, drying them is the perfect solution. Even though my measly 2 morels weren’t an overabundance, I decided I wanted to try to dry mine. I think the flavor is more intense when they are dried.

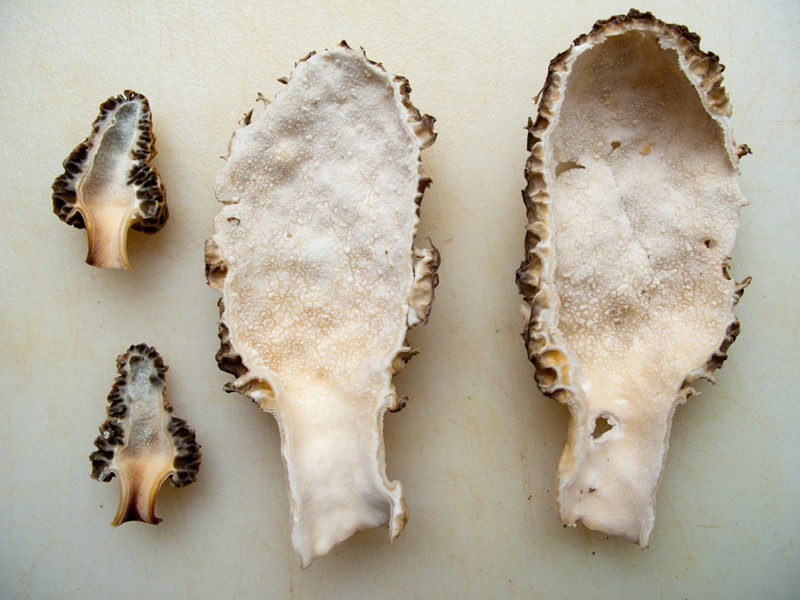
Drying morels is a very simple process. First you cut the morels in half lengthwise. Put them into cold water to rinse out any dirt, grit or critters. Then you can do one of several different things to dry them. You can hang them in a place that gets good air circulation, but no direct sunlight. You can put them in a dehydrator set to 110, or you can put them into an oven set to about 110F. You don’t want to go with a higher temperature, because that will cook them and ruin the flavor. You will need to run the dehydrator or oven for about 10 hours to remove all the moisture.

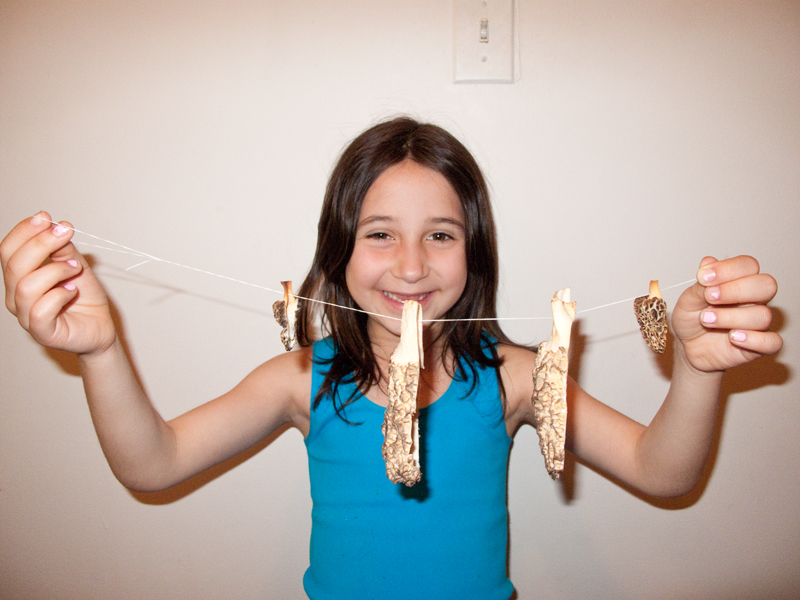
I decided to string mine on thread and hang them in my kitchen. After one day, they were noticeably smaller and already getting brittle. Once you have all the moisture out of them, you can store them in an airtight container for 6 months, or freeze them for up to a year. Keep them out of sunlight if you aren’t freezing them.

Apple Sauce

By this time, nobody in the family was reaching for apples. I still had a huge pile of them, so I decided to do my first experiment in canning. Apple sauce. I have made apple sauce before, which is ridiculously easy, but I have never canned it. I have the book Putting Food By, which is great, but should be subtitled Scaring You Silly About Salmonella. It gives very detailed directions about canning to ensure success. Here’s a site that gives some simple instructions for hot water bath canning, which is what you use when canning fruits, tomatoes or other items with high acidity.

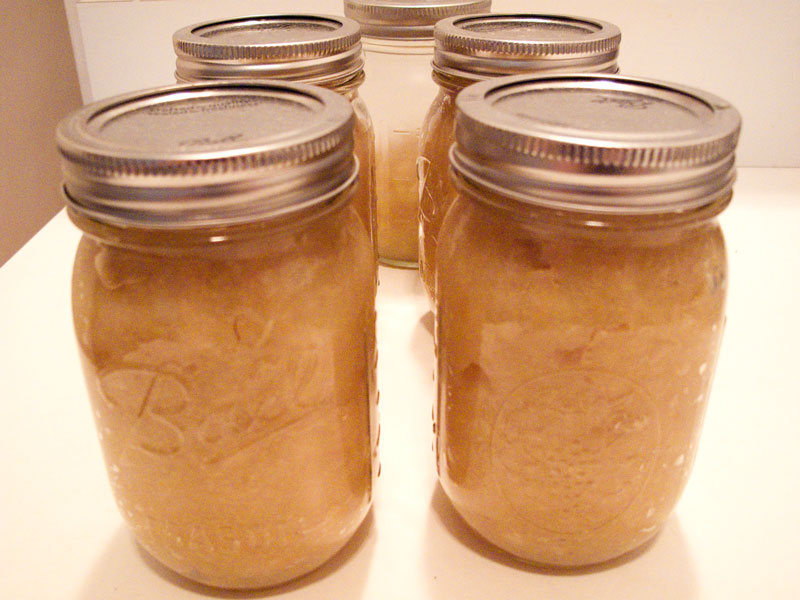
I wasn’t really following a recipe and since this was the first time canning, I made a guess as to how many apples to use. Turns out that I could have double the amount, because in the end I only had 4 1/2 jars worth of applesauce. That was a disappointing yield coupled with the fact that I still had some leftover apples. Not too many though, so I think my work is donee!

Recipe for Applesauce (very loose guide)

Peel and core as many apples as you have. Add to a pot with some liquid like apple cider, apple juice or water. The liquid keeps the apples from scorching. Cook slowly over med-low heat. Stir often. Spice how you like your apple sauce. I used plenty of lemon juice and grated ginger. You could be more traditional and use cinnamon.

Stir and taste often. You can run it through a food mill if you like a liquid applesauce. I prefer mine chunky, so I attacked the apples with a potato masher once they were soft.

How to make acorn flour

When you are interested in foraging, you really have to pay attention to the seasons. If you read about ramps in the winter, you are going to have to wait until spring to find them. Shopping at grocery stores seems to have made us forget that certain things grow at certain times of year. At least locally, that is. I had read about making acorn flour a while ago, but it wasn’t acorn season. I forgot all about it until I saw Stephanie mention it in her blog. I was going up to the Berkshires for the weekend and it was the right time of year for acorns.

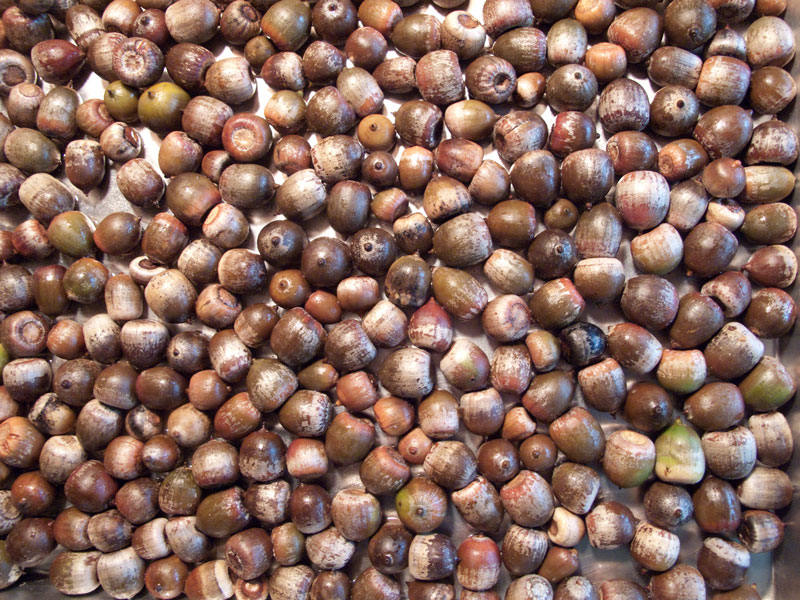
We went on a hike and I brought a backpack along to gather nuts. I had no idea how many I would need, so I summoned my inner squirrel and kept gathering and filling my bag. When we got home, I weighed the nuts I had found and had 8lbs. After pulling off the tops and discarding the ones that had worm holes in them I had 6lbs. I read in a couple of places that you place the acorns in water and the ones that float aren’t viable. I tried that and almost all of mine floated. I decided to check inside and see what they looked like. Some were bad, but most were good, so I decided to skip that theory.

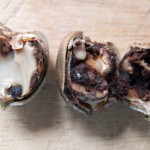
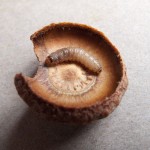
Now comes the gross part…grubs! Many of the acorns had grubs. The fat, white, wiggly things totally grossed me out, so I decided to bake the acorns at 170 degrees F to kill them. A dead grub is still gross, but a wiggling one is much worse.

After discarding the acorns that were discolored or had grubs in them I think I was down to about 2-3 lbs. Acorns are full of tannins, so you have to soak them for several days to remove the bitterness. I tried soaking them when they were chopped, but thought that the water wasn’t getting to the inside of the acorn meat. I ran them through a meat grinder to chop them smaller.

Directions for how to make acorn flour:

  • Gather a ridiculous amount of acorns
  • Discard any that have obvious problems (squirrel bites or worm holes)
  • Bake acorns at 170F for 1 hour to kill grubs
  • Shell acorns tossing out any that are discolored or have grubs. It is pretty obvious which ones are good and which ones aren’t
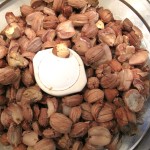
  • Grind acorns in a food processor, or a meat grinder
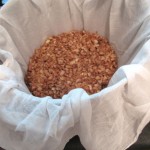
  • Wrap in several layers of cheesecloth and soak in water. You will need to do this for several days, until the meat isn’t bitter.
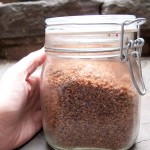
  • Lay the acorn flour on a pan and either dry in the sun, or in the oven on the lowest setting. Make sure it’s completely dry or it will mold.

I will post some recipes within the next few days.