Elderflower Liqueur


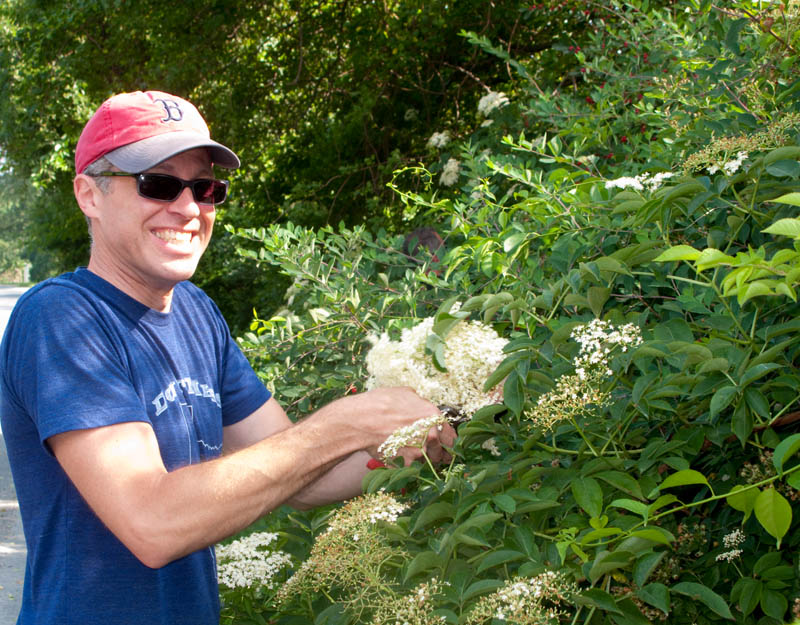
We just came back from our annual July 4th visit with friends up in Rhode Island. Every year at this time their elderflowers are blooming all along the roadsides. A couple of years ago I made french toast, where I dredged the batter-soaked bread in the blossoms. That was really good. This year we made various items including fritters, liqueur and syrup. I’ll post about each until you won’t want to see another elderflower!

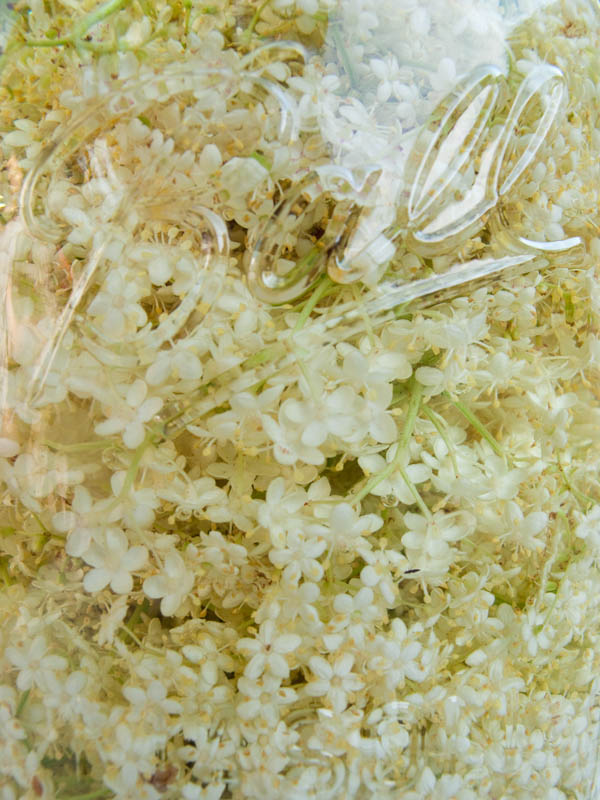
Okay, so for the liqueur, it is ridiculously simple. All you need is about 20 flower heads, a quart jar and a bottle of vodka to begin.

• Carefully inspect the flowers for critters. My daughter was particularly good at spotting tiny inchworms and ants.
• Trim the extra stem off of the flower heads and drop the blossoms into the clean jar.
•Fill with vodka and store in a dark place for 1 month.
•After a month, strain out the flowers and mix in about 1/3 cup of sugar until dissolved.

My batch has only sat for 4-5 days, so while I wait, I’ll have to satisfy myself with St. Germain. Neil makes a great version of a cosmo using St. Germain instead of Triple Sec.
Another refreshing summer drink is 2 parts sparkling wine (proseco, champagne, cava, whatever) mixed with 2 parts seltzer and 1 1/2 parts elderflower liqueur.

How to Dry Morels


If you are lucky enough to have more morels than you want to eat at one time, drying them is the perfect solution. Even though my measly 2 morels weren’t an overabundance, I decided I wanted to try to dry mine. I think the flavor is more intense when they are dried.

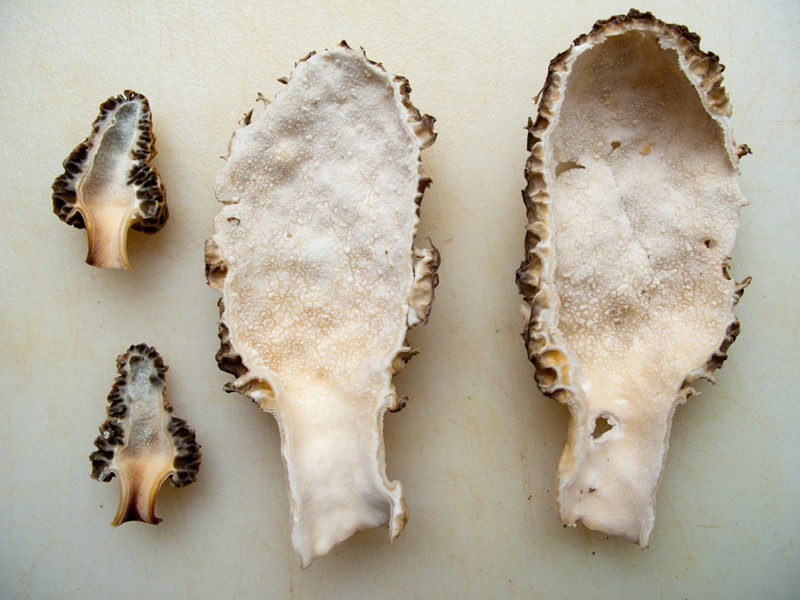
Drying morels is a very simple process. First you cut the morels in half lengthwise. Put them into cold water to rinse out any dirt, grit or critters. Then you can do one of several different things to dry them. You can hang them in a place that gets good air circulation, but no direct sunlight. You can put them in a dehydrator set to 110, or you can put them into an oven set to about 110F. You don’t want to go with a higher temperature, because that will cook them and ruin the flavor. You will need to run the dehydrator or oven for about 10 hours to remove all the moisture.

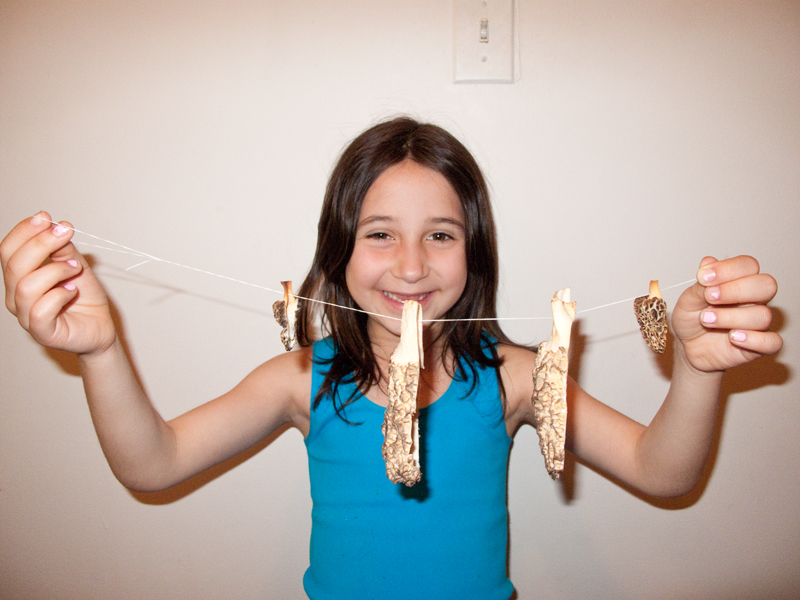
I decided to string mine on thread and hang them in my kitchen. After one day, they were noticeably smaller and already getting brittle. Once you have all the moisture out of them, you can store them in an airtight container for 6 months, or freeze them for up to a year. Keep them out of sunlight if you aren’t freezing them.

How to plant a dwarf apple tree

As you may have read from a previous post, I ordered a second apple tree to serve as pollinator to my current tree. My first tree is a Sundance apple. The new tree is a Pixie Crunch.

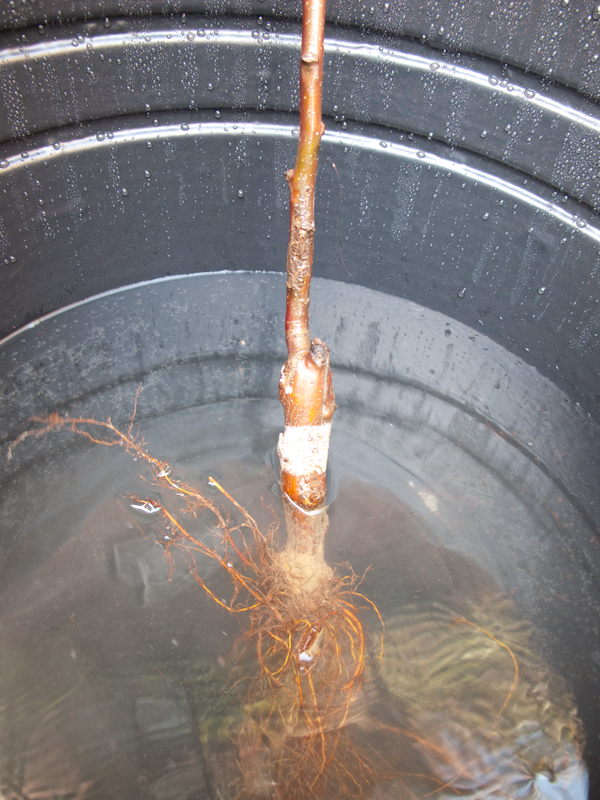
If you get a bare-root tree, as I did, you will need to immediately soak the roots in water (in the shade) for a couple of hours.

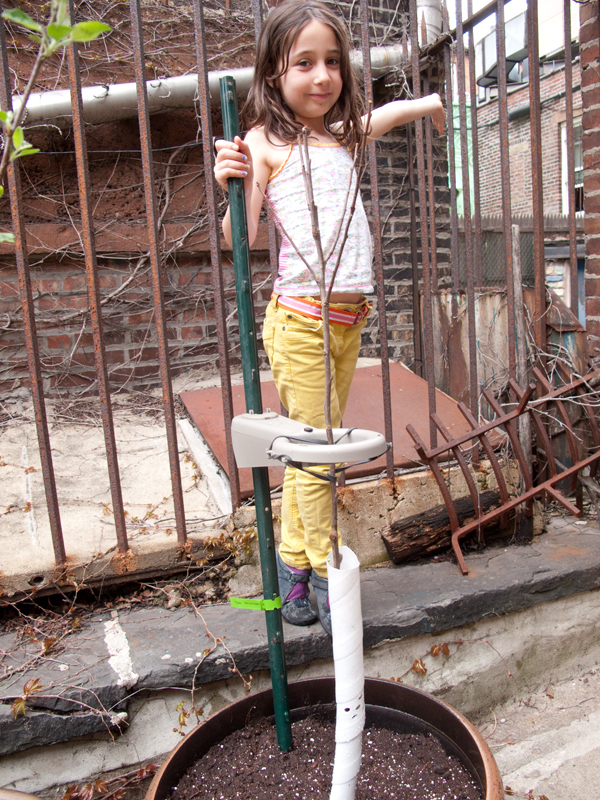
Then fill your container with good soil. I added compost from my garden, which is rich in nitrogen from my chicken’s manure. Make sure to keep the graft (the bumpy join in the trunk) a couple of inches above the level of the soil. My tree has a white line painted on to show the join.

I put a support post in as well and added a protective guard for the trunk. Hungry squirrels will chew on the bark of a young tree. I had this happen to my first apple tree. Fortunately it didn’t harm the tree. I added a guard around that tree as well. This set-up looks like overkill, but the tree will quickly grow into it.

When you have your tree in place, pat the soil down and water it well. Keep watering the newly planted tree if you have less than an inch of rainfall per week.

How to make kombucha

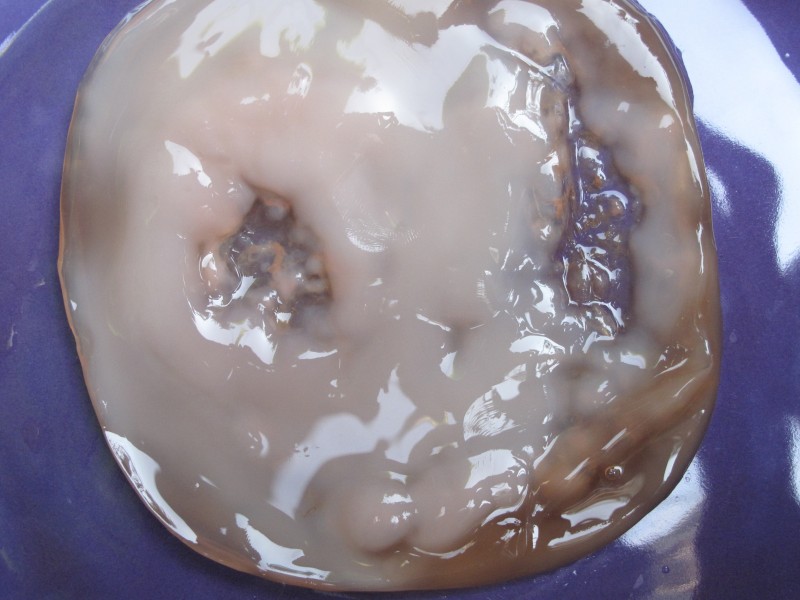
Kombucha scoby

A few weeks back I took a fermentation workshop with Sandor Katz. One of the many foods and beverages he covers in his book Wild Fermentation is kombucha. Kombucha is a fermented beverage made from sweetened tea. What gets the fermentation action going is a gelatinous clump of bacteria and yeast called the scoby, the mother, or the tea beast (love that one!) It’s a rubbery disk that is pretty unappetizing looking.

I was lucky enough to get a scoby from a generous person at the workshop, who brought extras. You see, when you make kombucha, you use a starter scoby, but then a new one forms. So then you have two, so you can then get two jars of kombucha brewing. But then you have 4 scobies. You can see how this can get out of hand quickly. In fact, if anyone lives near downtown Brooklyn and wants to try their hand at making kombucha, I can pass along a scoby to get them started. Just email me!
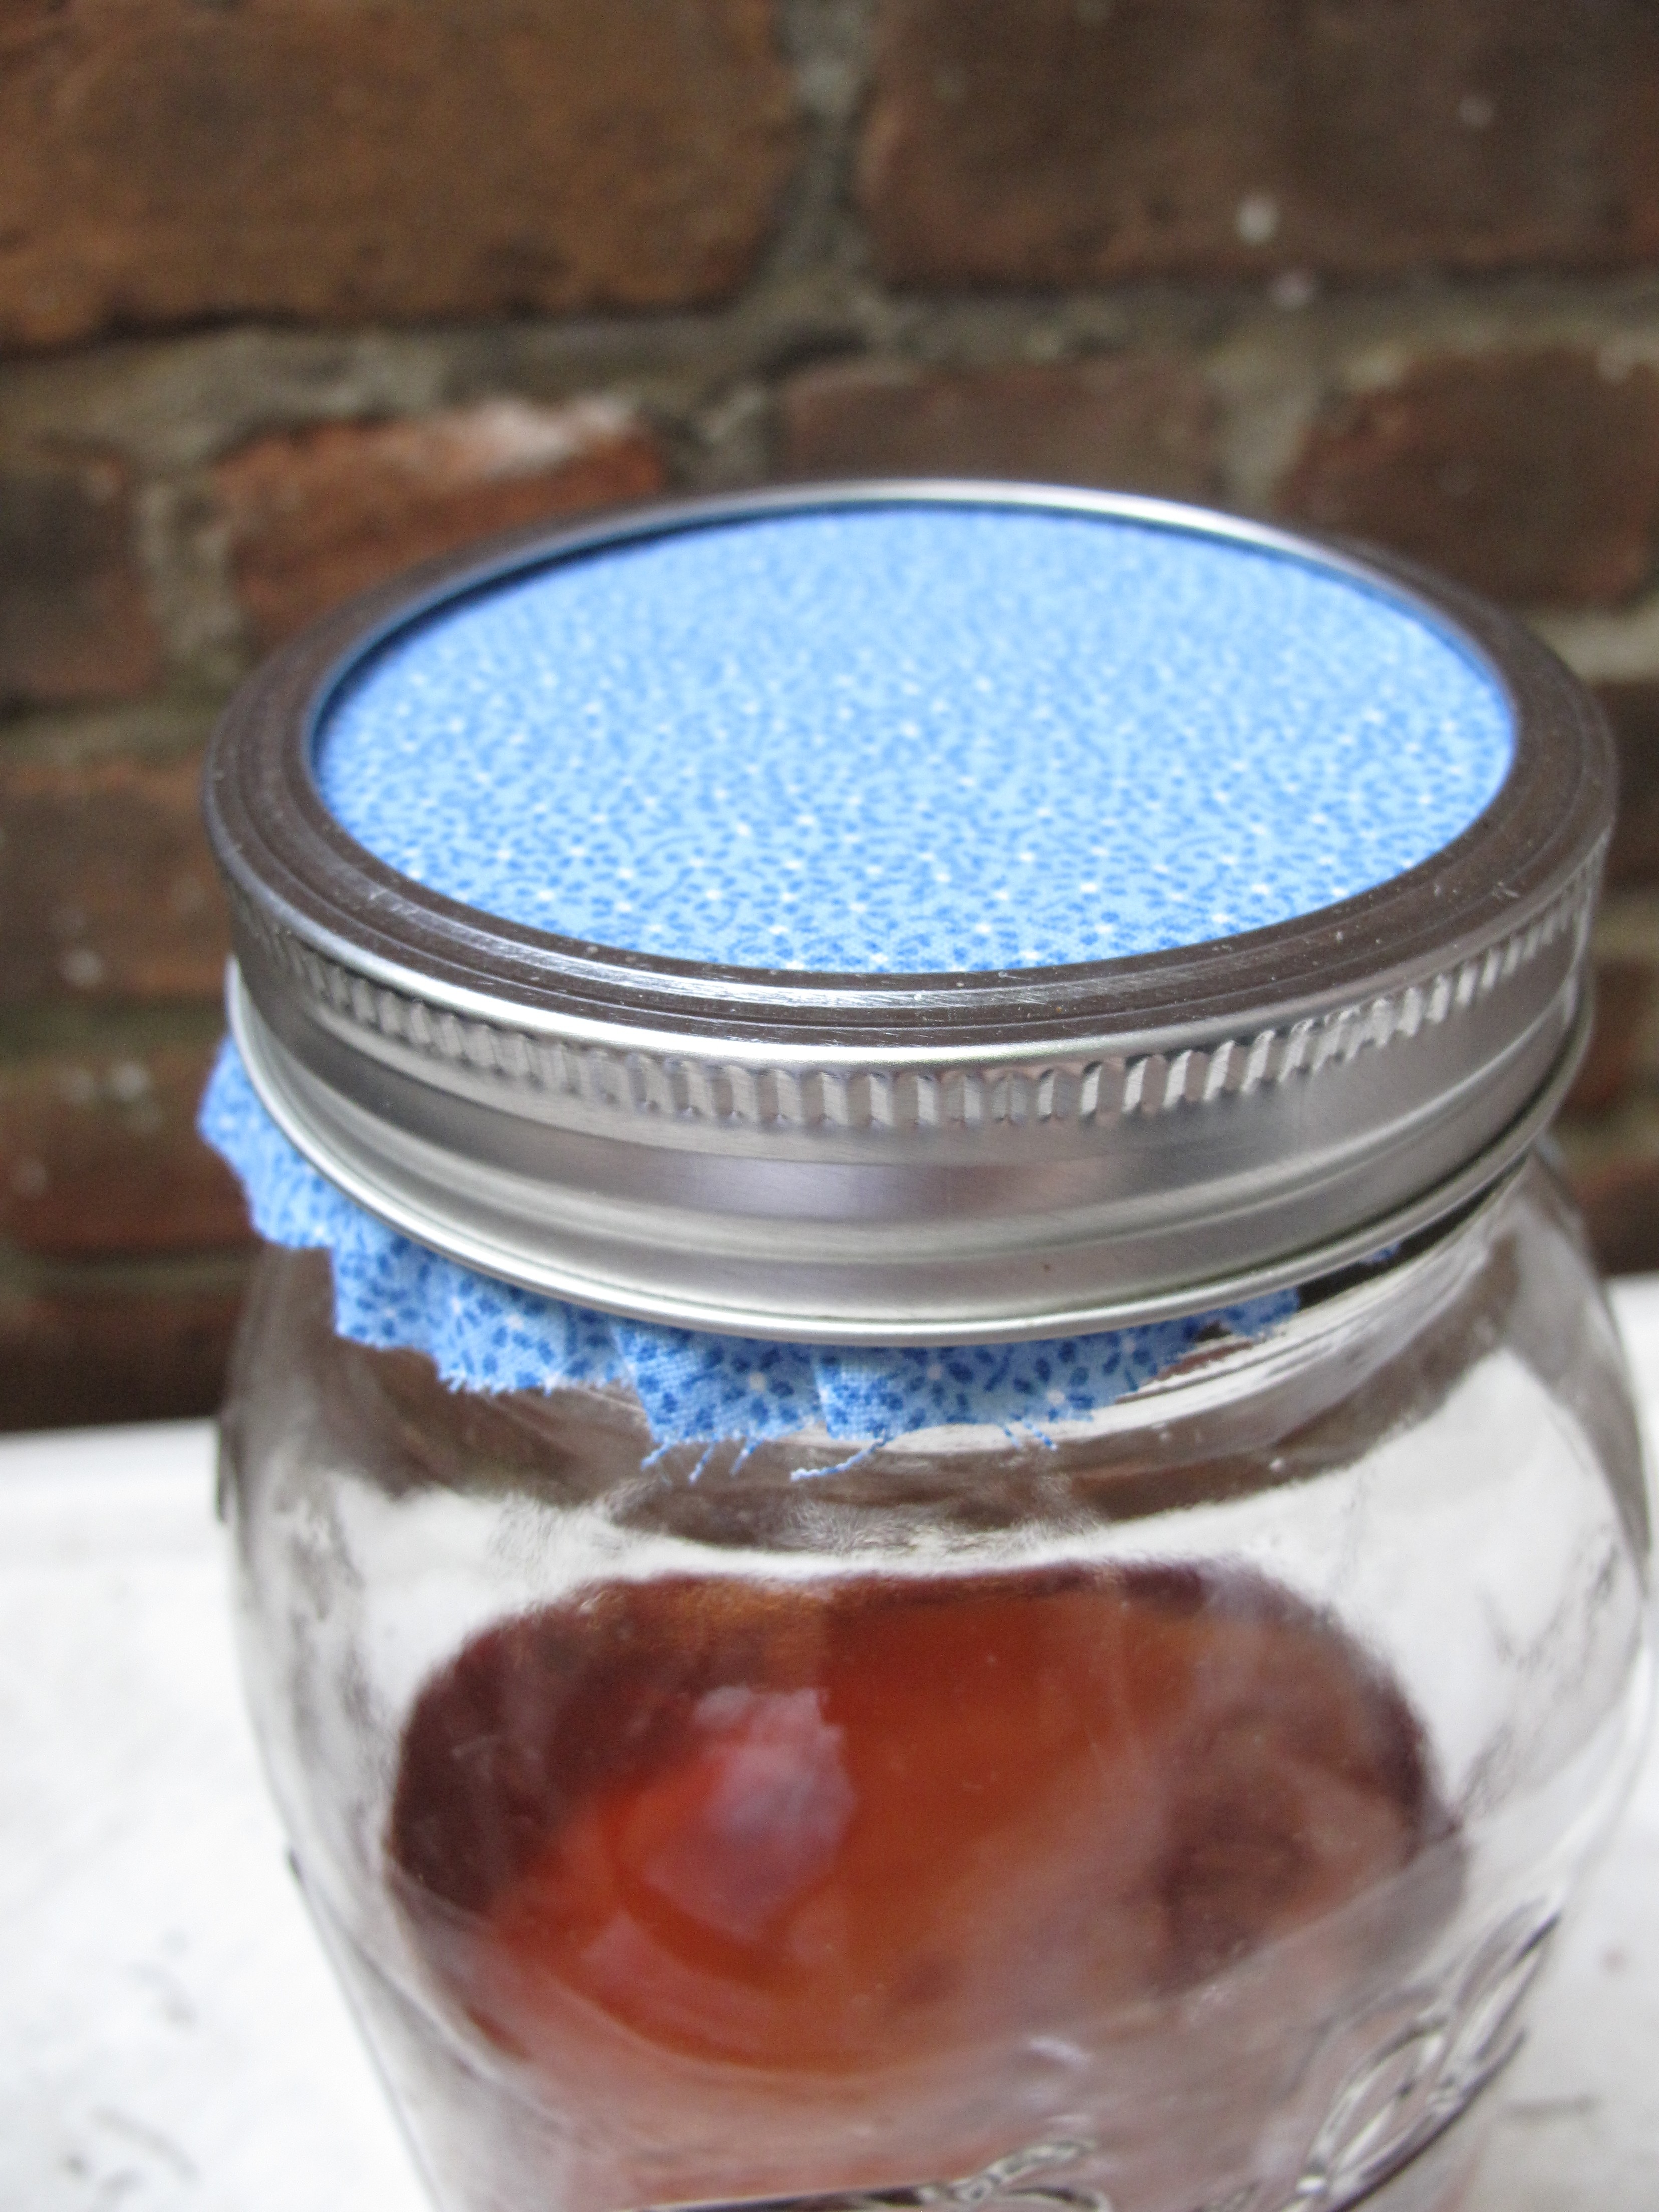
Fabric lid

Kombucha Recipe adapted from Wild Fermentation. To make 2 quarts.

Ingredients:

2 quarts of water

1/4 c. sugar

4 teabags of black tea

1 c. mature kombucha (you can buy it at most health food stores) This is like sourdough starter for kombucha.

kombucha scoby

Add sugar to the jar and boil water. When water has reached a boil, pour it into the jar (in this case a 2-quart jar) just to the point of where it starts to taper in. Stir to dissolve the sugar.

Add the teabags and let steep at least 15 minutes. Allow the liquid to cool to body/room temperature.

Add the mature kombucha and then the scoby. Put the scoby in opaque side up. Cover with a cloth which allows air circulation but keeps flies out. I take the metal disk out of the 2-part mason jar lid and put the screw ring on over a piece of fabric.

After a few days, taste the liquid (I pull some out with a straw. You know the trick where you dip the straw in and then put your finger on the end and pull up the liquid in the straw…). This part is really subjective. Kombucha ferments faster in warm weather, so keep that in mind. It’s been crazy hot here and I’ve still let my kombucha ferment on the counter for a couple of weeks. The longer it ferments, the more of a tangy, sour flavor it will have. If you let it go too far it will turn into vinegar. When it is to your liking, remove the scoby and store the kombucha in the fridge. If you like to flavor your kombucha, this is the time. I added lemon juice, some chopped ginger and some raspberry purée I happened to have on hand. I was emulating the trilogy mix by Synergy. I fill Synergy bottles, which are 16oz with my finished brew. To this I added juice from 1/4 lemon, a few slices or chunks of peeled ginger and about 1 t. raspberry puree. I have some in the fridge now with a few blueberries floating in the bottles.

When I pour the kombucha into my drinking glass, I always strain it to remove the ginger and any slimy bits (I know. Real appetizing. Makes you really want to run out and make some when I mention slimy bits) . It’s a little effervescent and very refreshing. And much to my dismay, kombucha is very trendy right now.

And if you don’t have any takers for the scoby, you can compost it, bury it with fruit trees or give it to your chickens. Mine wolfed it right down.

UPDATE: After several months of brewing kombucha, I’ve decided to take a break. I don’t have any more scobys to pass along. There are sites that explain how to grow a scoby from commercial kombucha. Here’s one.
How to re-upholster a chair

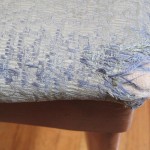
For several months we have been living with chairs that looked pretty shabby. The fabric covering started to tear on several of them. This weekend we finished re-covering them, which was a simple process.

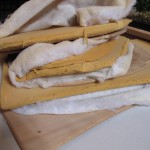
One of the enormous benefits of living in New York City is the ability to find almost anything. I needed upholstery fabric, foam and dacron. I got the fabric at Mood fabrics (famous for supplying the show Project Runway) and I got the foam and dacron at Canal Rubber. Dacron is a stretchy, web-like material that covers over the foam. If you are at all like me and are not on top of *everything*, you might have chairs that go neglected. What happens under the fabric is that the foam turns a gross shade of orange and becomes brittle and powdery. The dacron stretches over the foam and keeps this powder from dusting the floor under the chair. Have I shared too much??

Anyhow, the internet is rich with videos on how to re-upholster a chair. Each version is slightly different. Glueing the foam to the seat didn’t seem right to us, so we stretched the dacron over it and stapled it down. It’s mostly just common sense.

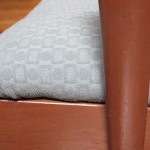
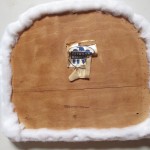
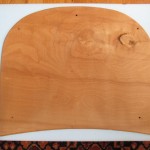
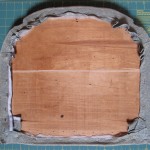
Neil unscrewed the seat of the chair from the wooden frame. There were 4 screws on the bottom of the seat. He then took a flat head screwdriver and removed all of the staples holding the fabric and foam onto the seat. The seat is just a sheet of plywood.

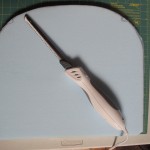
I traced the plywood shape onto the foam, giving an extra 1/2″ of space all around. I cut the foam with an electric turkey carver. Now I feel I have to explain something…we don’t use this carver to cut turkey. We bought it when we made a foam turtle shell for our daughter’s Halloween costume years ago. The man at Canal Rubber suggested using a box cutter to cut the foam, but if you can get your hands on one of these electric carvers, your life will be much easier.

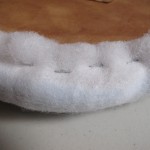
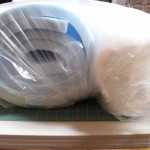
I cut the dacron with a pair of sharp scissors to a size about an inch or 2 larger than the foam. We placed the foam on the plywood base and stretched the dacron over it. Then we used short staples and a staple gun to attach it to the wood.

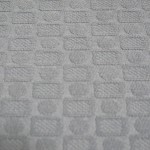
I traced the shape of the old fabric onto the new fabric. The foam we used was slightly puffier than the old foam, so I needed to add about an inch and a half all around. You can use scissors. I used a rotary cutter. Then you stretch the fabric over the dacron and staple it down. I found this much easier with two people, but you could do it solo. We also did the canvas stretching technique, which is when you start stapling the fabric in the middle of one side, then flip it around and staple the middle of the opposite side. You do this on all sides and work your way to the corners.

I should have taken more photos, but I think it is really common sense. When you get to the corners, fiddle with how you fold the fabric so it looks nice.

Making Seedling Pots

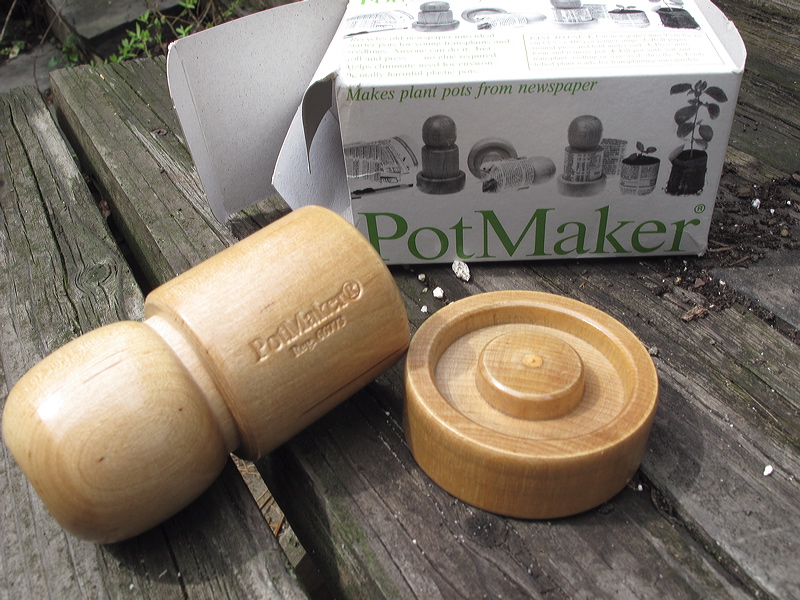
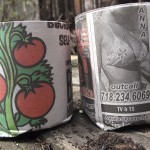
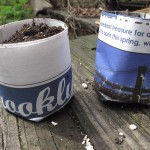
Last night I pulled out my x-acto knife, cutting board and old newspaper to make pots for my seedlings. Neil and Lindsay gave me this nifty little tool called the PotMaker last year. You wrap 3 1/2″ wide (longer than 9″) around the base of the cylinder. Then you fold the ends under and press down on the small disc-shaped base. I had a lot of fun making them and got a kick out of the pictures that appeared on the outside of the pots. And, yes, I’m a little insane/ocd because I planned some of how the photos would fall on the pots.

Spinach Pasta

spinach pasta

I had a bunch of spinach in the fridge that was looking a bit limp, so I decided to make some fresh pasta. I have a pasta roller/cutter attachment for my stand mixer, but you could use manual rollers.

Fresh Spinach Pasta

1 bunch of spinach steamed, or 1 package of frozen spinach thawed. Either way, chop up the spinach finely. I tried using a food mill, which wasn’t a huge success. A blender or food processor or determined knife wielder would work great.

3 eggs

2 1/2 cups of flour

I mixed the three ingredients together and added some of the spinach liquid to make the dough form a ball. I kneaded it by machine for 2 minutes and then by hand for another 1 minute. Let the dough rest for about 15 minutes.

Roll it and cut it. Divide the dough in 4 equal parts. Flatten one piece and feed it through the widest opening on the pasta roller and then fold in half and feed through again. Repeat this several times until the dough is nice and supple. I dust it with flour so it isn’t sticky at all. This helps prevent the pasta from sticking together when you cut it. I put each piece of dough through this and then set the roller to a thinner setting. I made fettucini, so I ended up on setting 5 of my kitchen aid roller. It’s a medium setting, which gives it a nice heft when you are eating it. You don’t have to fold the dough in half for the thinner settings – that’s just on the first setting.

I’m going to get some crushed tomatoes and make a simple tomato and garlic sauce. With a little grated parmesan it should be simple and pretty. Ever notice that Italian food and the Italian flag are the same colors? Coincidence? Nah.

How to Pickle Green Cherry Tomatoes

Just a couple of weeks ago I was commenting on how unseasonably warm it was. Since then we’ve gotten colder with most nights below freezing and the ground feels hard under my feet. Neil wrapped the chicken’s run with plastic to protect them from the cold wind and they are spending a lot of time in their little hoop house instead of the larger (un-wrapped) enclosure.

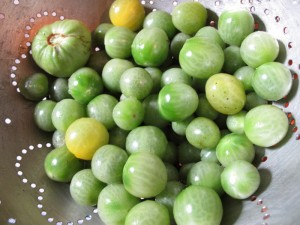
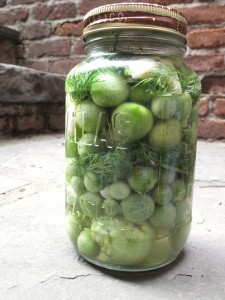
I had many green cherry tomatoes left on the vine, which I didn’t want to go to waste. I did some searching online and found a few pickle recipes. I decided to make a recipe that didn’t use water-bath canning techniques, which just means that I need to eat them up sooner.

green tomatoes

green tomatoes2

green tomatoes3

Adapted from John Kessler’s Pickled Green Cherry Tomatoes (or tomolives)

1 quart green cherry tomatoes or quartered large green tomatoes

1/2 bunch of dill (about 6-8 stems)

1/2 c. apple cider vinegar

2 t salt

1 t freshly cracked pepper

5 large cloves of garlic, peeled and thickly sliced

Optional: 1-2 hot peppers. I chose not to put them in because of my daughter, but I think it really would help the flavor.

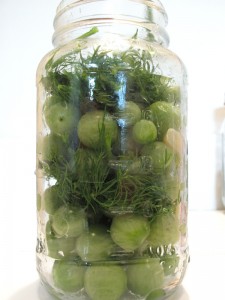
Pierce the tomatoes all the way through with a skewer and then place in a clean quart-sized Mason jar. Add the dill sprigs and pepper.

Bring 1 1/2 c. water to boil with the remaining ingredients. Pour liquid into the jars and cover the tomatoes. Stir the dill and garlic into the tomatoes. Cover and bring to room temperature. Let the tomatoes absorb the flavor overnight in the fridge.

What I would do differently: The original recipe just said to pierce the tomatoes in the stem end. This made 1/2 of the tomato taste pickled and 1/2 taste like a sour un-ripe tomato. After piercing them all the way through, I let them sit another day. I think the longer they sit, the better. These aren’t “officially” canned, so they will go bad. Don’t let them sit around too long. I also thought they could use a little more flavor, so will experiment with the hot pepper next time. I thought they were interesting and definitely a good use for what would have just gone to waste. There are also recipes for friend green cherry tomatoes (cut in 1/2, dip them in some sort of flour or corn meal and then fry), but it seemed as though the breading just wanted to slip off the smooth tomato skins.

Actually I’m really getting jazzed to learn about canning, pickling and fermenting, so I think I’ll try some different pickling techniques next time.

Make an air conditioner for your chickens

waterbottle-small

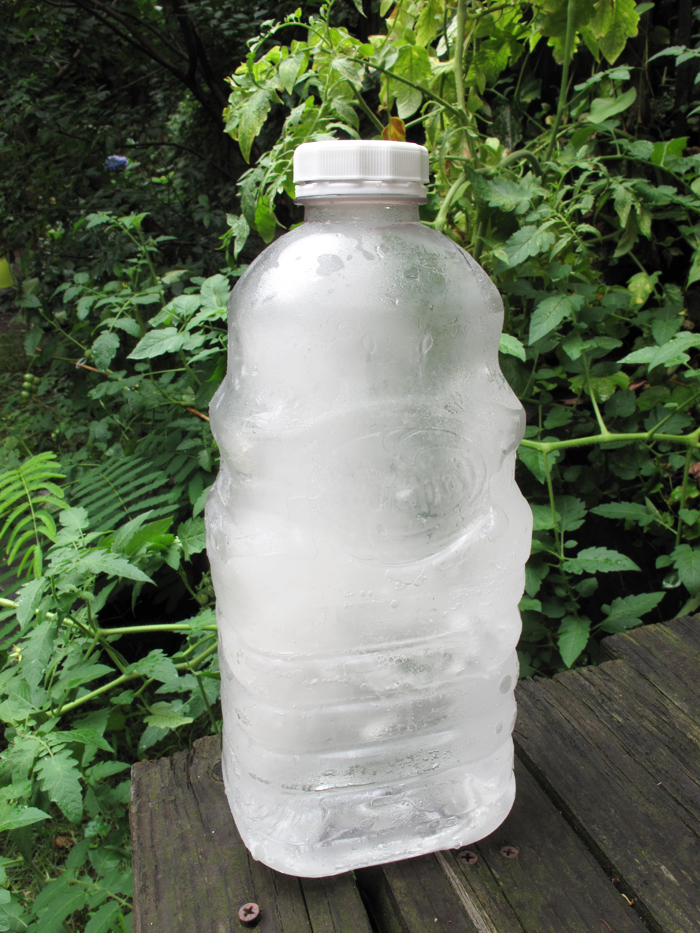
While we are helping birds out this hot summer, let’s think of our backyard chickens. It’s been in the 90s here for the past couple of weeks. The run is in a shady part of my garden, so the girls aren’t bearing the brunt of the heat. However, they are wearing little down coats and have to be feeling it. I’ve been getting fewer eggs on the really hot days, so I decided to try a “redneck air conditioner”. All that consists of is a frozen bottle of water. In this case I used a cranberry juice bottle filled with water. The idea is that  you put it in their run and they can sit or lean up against it to cool off.